1. Introduction:
This short Article outlines the various options that exist throughout the system for printing Documents and Reports. It also covers the eventuality where it becomes necessary to re-print Orders, Invoices, Credit Notes, Statements and all Reports. In most cases, there are a variety of options regarding the printed output format including Word, PDF, and so on. It’s a two-step process whereby the printed output is first produced electronically in the requested format, which is then available for review on-screen before directing it to the desired output device – or, alternatively it, emailing or saving it to disk.
2. Printing Transaction Documents:
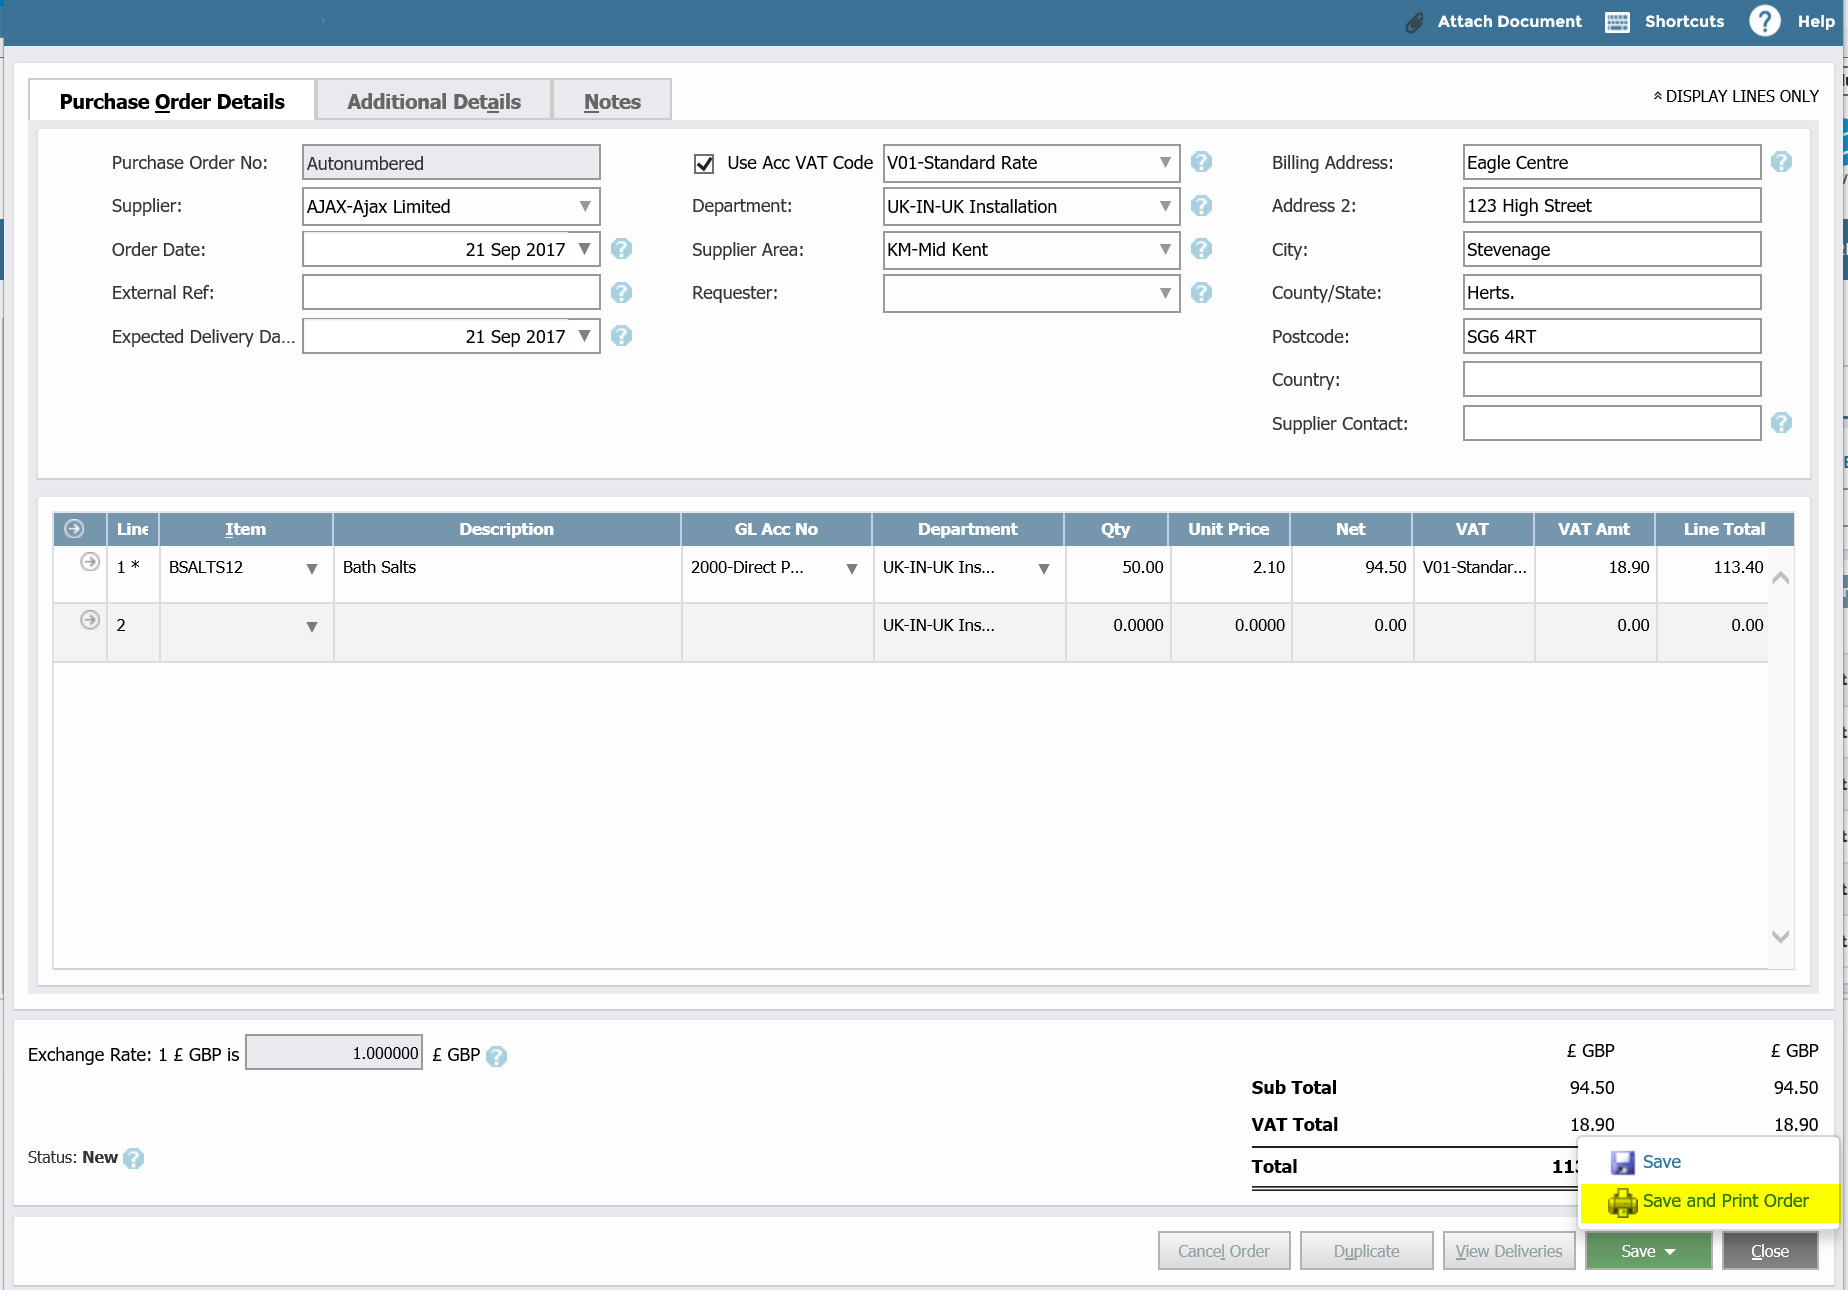
At the conclusion of the preparation of most transaction based Documents, there are facilities for printing the document there and then. For example, in this preparation of a Supplier (Vendor) Order;
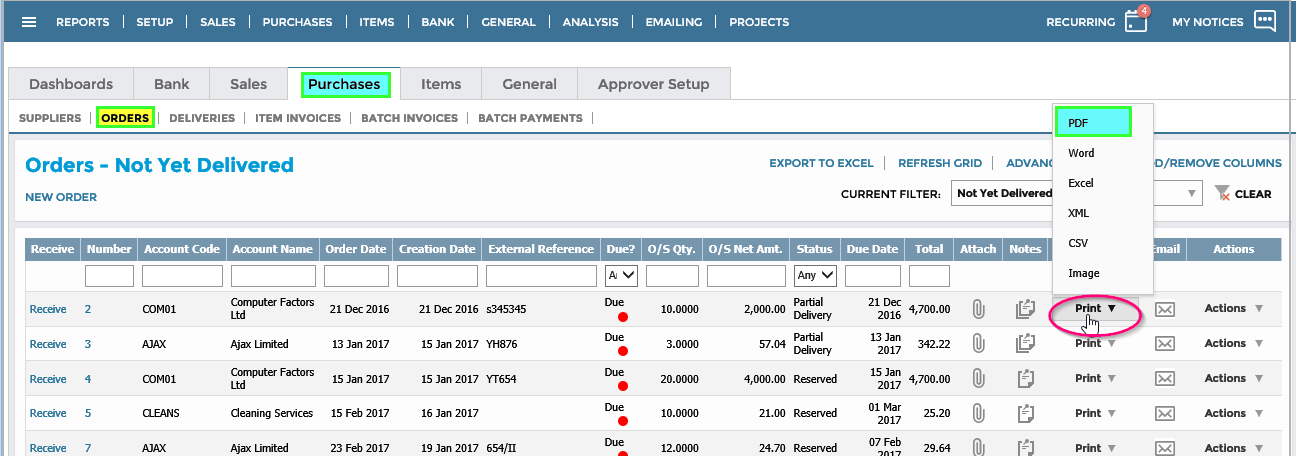
Or later on, from the Supplier (Vendor) Orders Grid, you can print or re-print a transaction document;
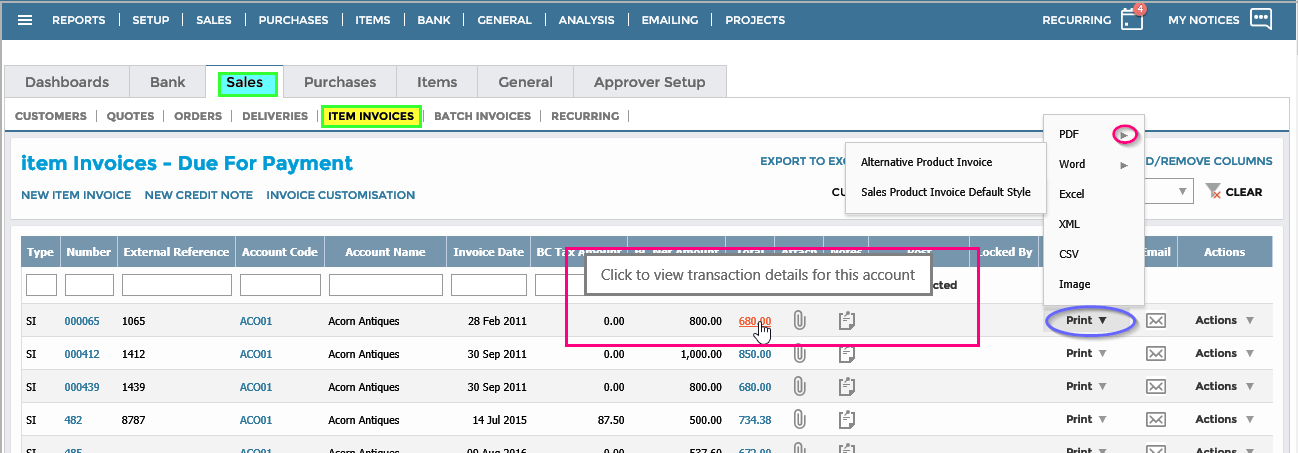
Or from here in the Customers Grid;
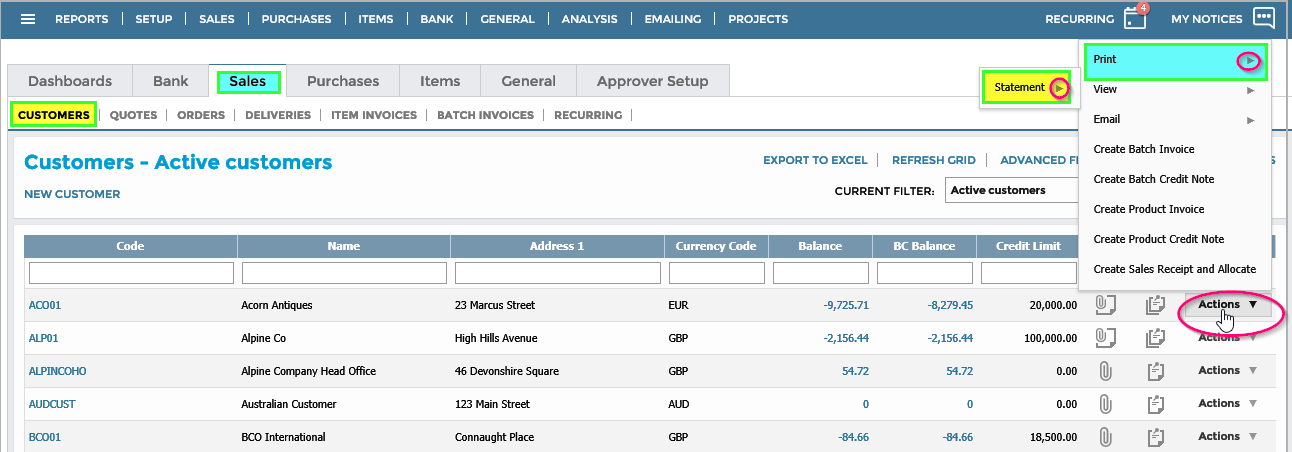
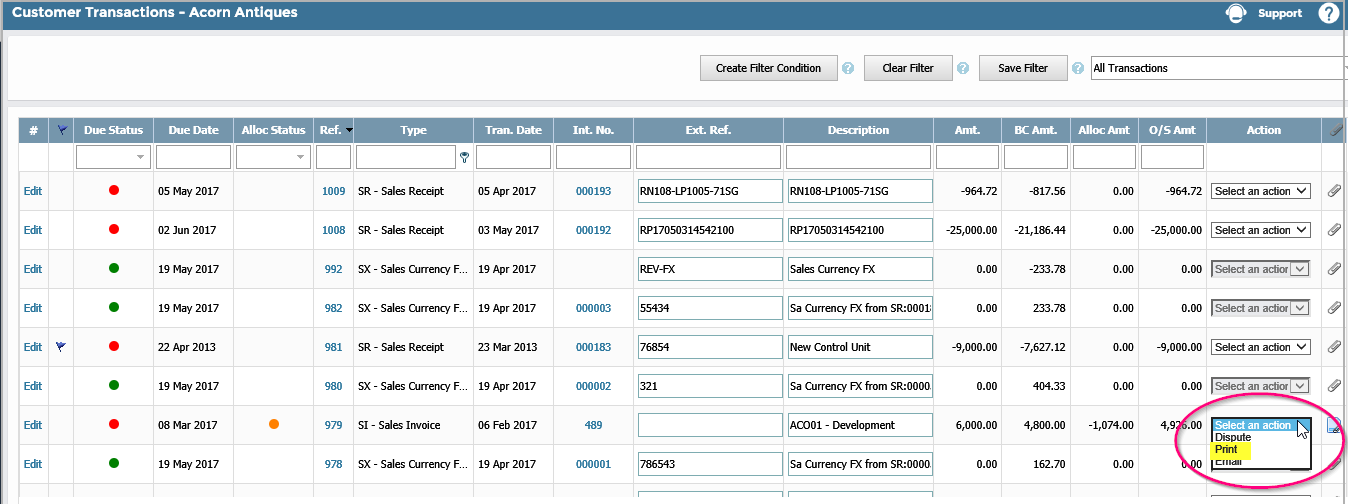
Or from here;
Or from here;
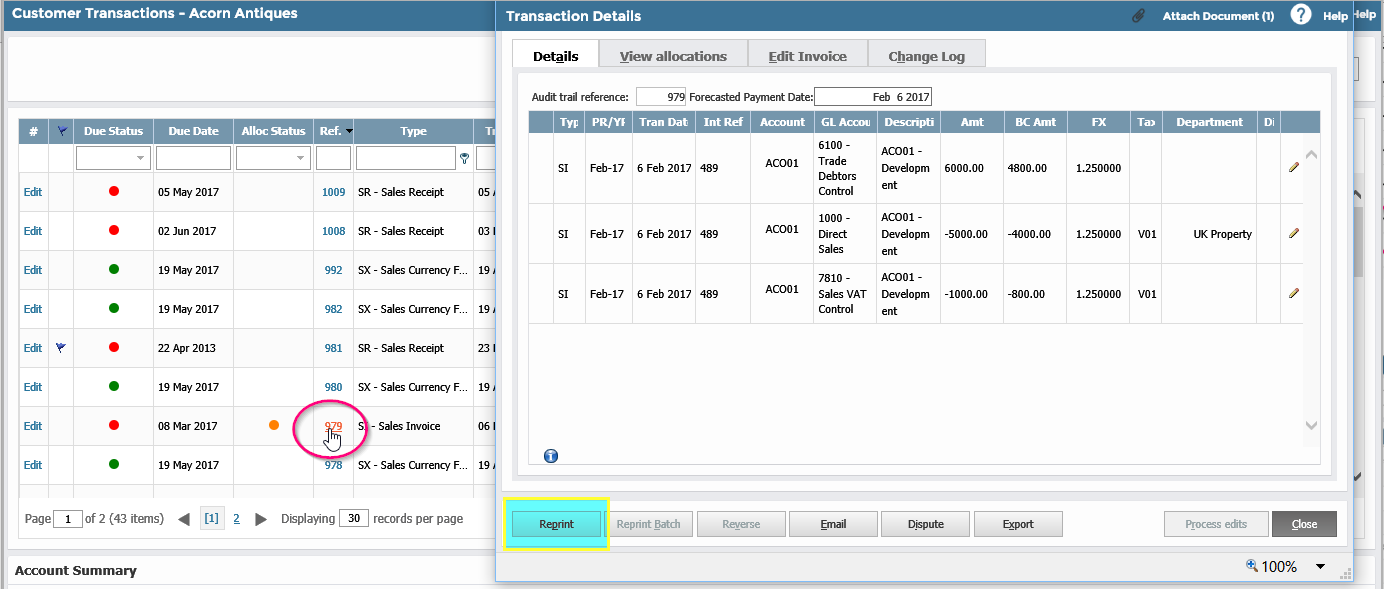
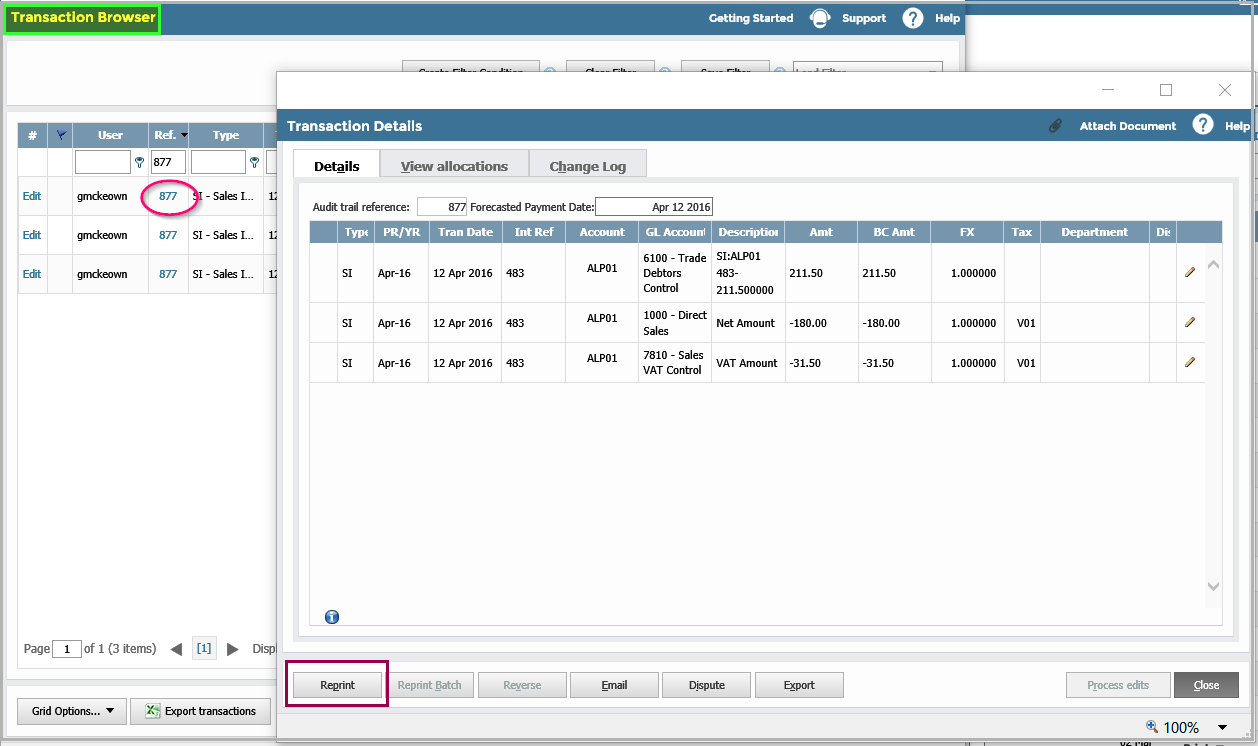
And also from within the General Ledger Transaction Browser for older transactions that may have lapsed from their respective Grid Listings due to being fully processed;
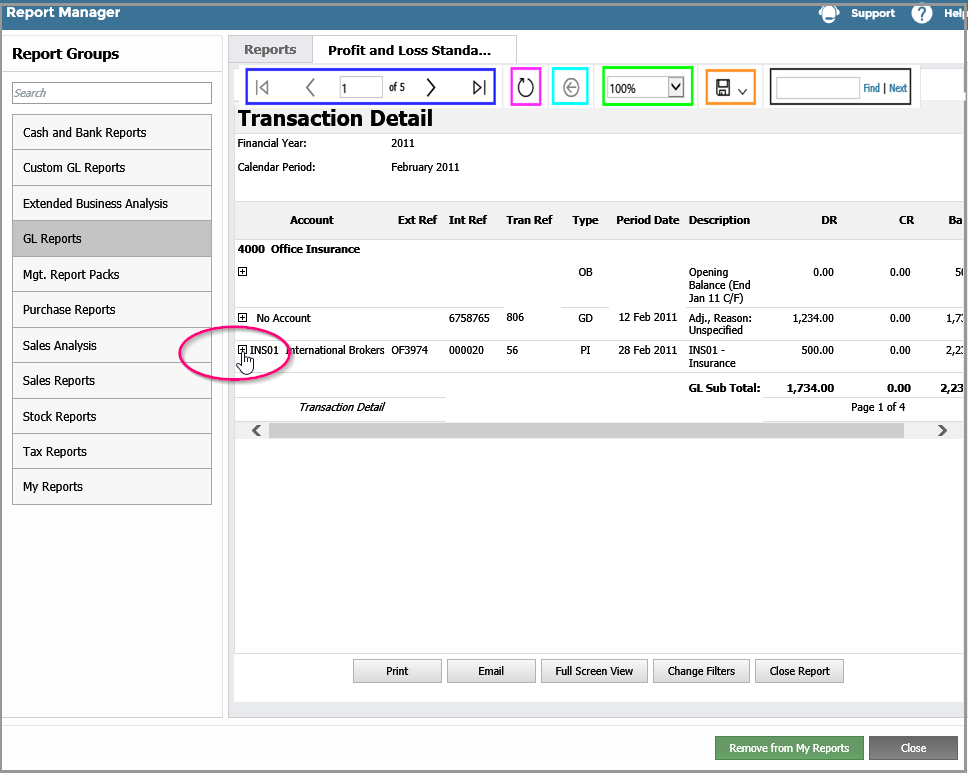
You can also use the “Reports Manager” to reprint transaction documents;
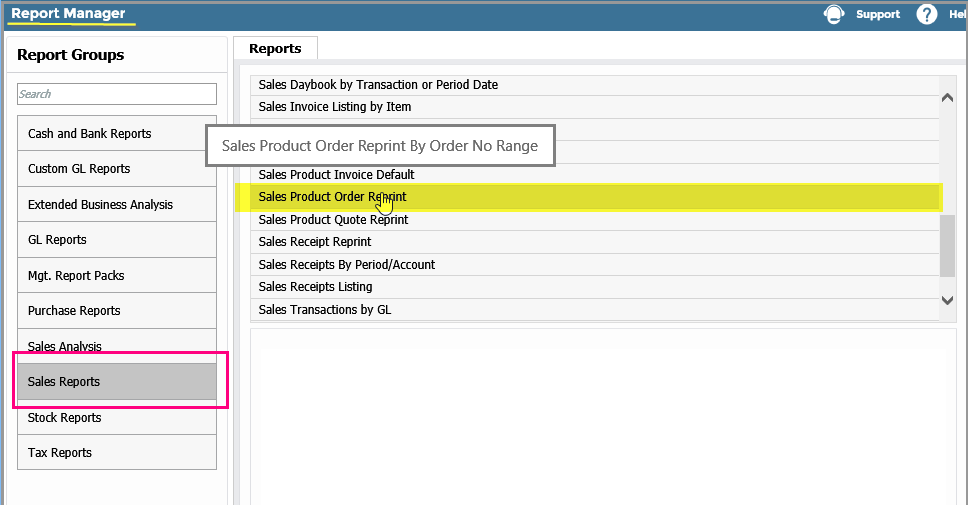
3. Using the Reports Manager:
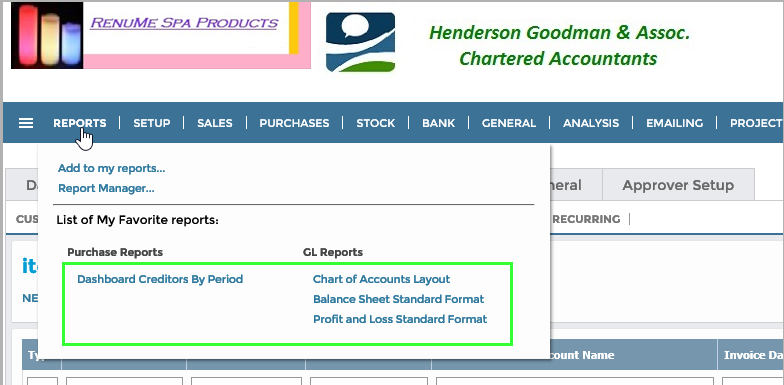
Under the Reports Tab there are two options;
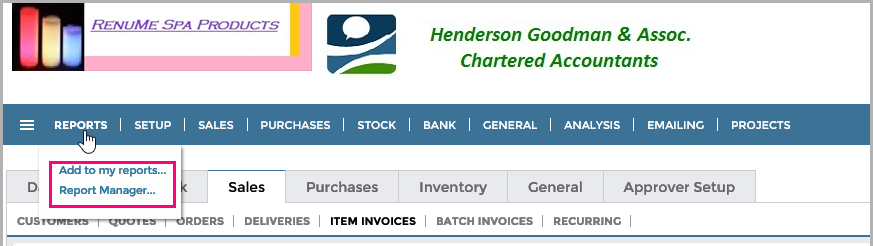
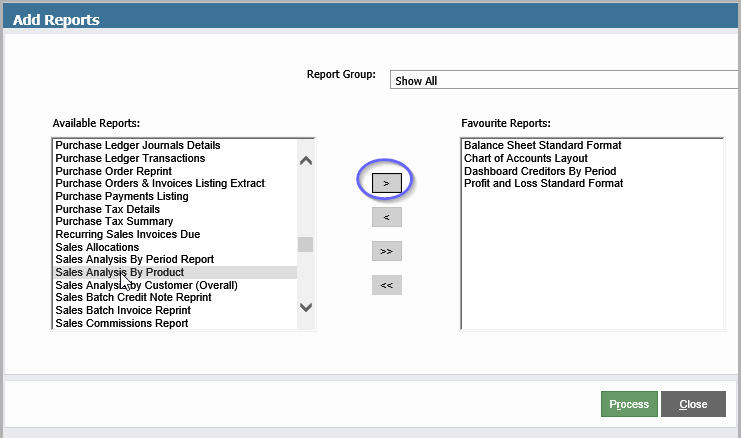
The second option brings up the entire set of Menus regarding reports available to you (and as qualified by your Menu Access Profile). When accessing a Report you will find a button “Add to my Reports” at the bottom of each report parameter screen. This allows you to collect your most used Reports and store them for quick access. The first option “Add to my reports…” also facilitates the build-up of this list of your favourite reports;
These will then be presented in a separate Menu here;
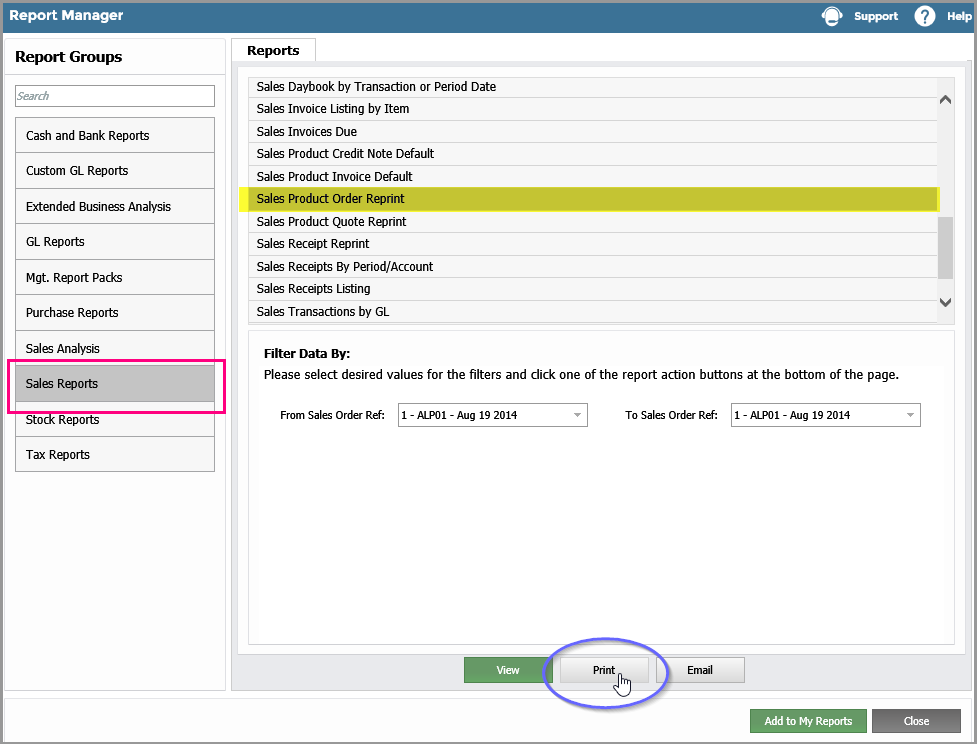
To access a Report, Click on its entry in the Menu set.
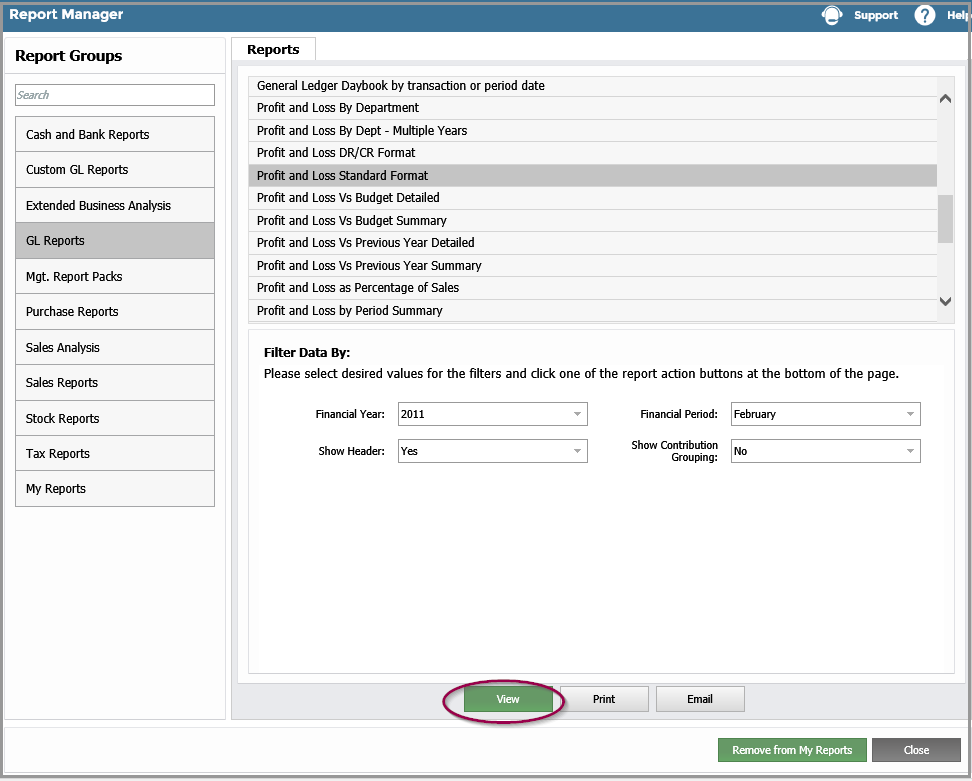
You should fill in the required Parameters – which will vary from report to report. You can now “View” the Report on-screen;
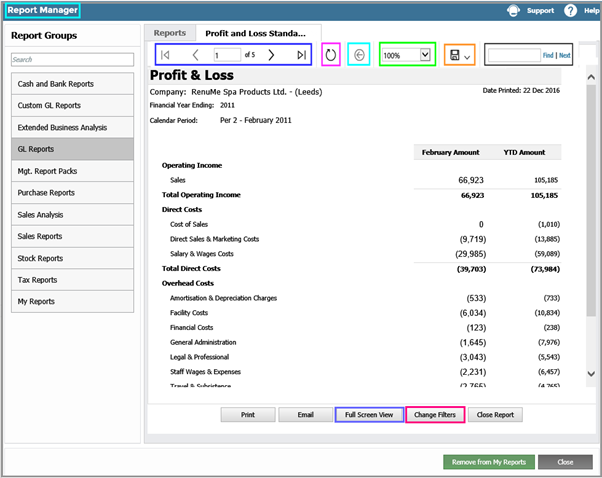
The first highlighted group in the top left-hand corner allow you (still in on-screen “view” mode) to "Navigate" from page to page of the report. (Note the Slider at the side of the report to view the rest of the page in the view window) and to go to the end or beginning of a multi-page report. The second highlighted symbol allows you to "Refresh" the Report. The third highlighted symbol will take you back to the beginning of the report while the fourth highlighted area allows you to "Zoom" on the report.
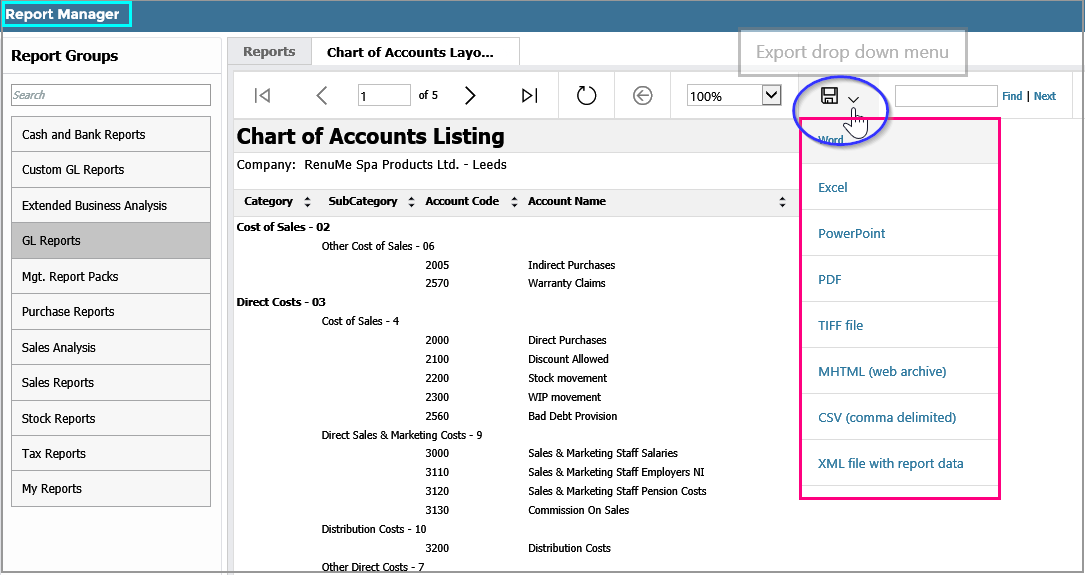
The fifth highlighted drop down facilitates the export of the report contents to a variety of formats including;
 The sixth highlighted area allows you to search the Report. Enter your Search term in the box provided and Click on "Find".
The “Full Screen View” allows you to avail of the entire screen to view the report which you can subsequently close to come back to this view.
The “Change Filters” button will bring you back to the parameters screen where you can choose a different set of parameters.
Many of the Reports feature a “Drill Down” capability. Simply click on any of the numbers in the report and, where drill down is facilitated, the detail behind that number is revealed. Click on the number you want to investigate;

And again, if desired;