
Introduction
When you have imported your templates (see the relevant data importer article), you have the option of using that data in specific ways.
- Go to Setup > Data Importer.
- In the menu, for each of the desired options, follow the relevant section of this article:
- GL Import: Trial Balance
- Banks Import: Unreconciled Bank Items
- Open Items Import:
- Customer Open Items
- Supplier Open Items
- Items Import:
- Locations
- Sub-Locations
- Item Groups
- Item Sub-Groups
- Item Defaults
- Items
- Stock Take
Navigating the Import screen
Go to Setup > Data Importer and select the relevant option.
When a step is successful you will be prompted to move to the next step. You can skip any step by clicking Skip Step. Steps are colour coded according to their status:
- Green: Step completed.
- Red: Step not completed.
- Greyed out: Step unavailable for selection because the data is not included in the Import Template.
If you log out and log back in again to continue the import, you do not have to upload the import file again as it is retained in the importer.
See:
 Chart of Accounts Data Importer


 Customer Data Importer
  Supplier Data Importer
 Chart of Accounts Data Importer
 Trial Balance and Banks Importer
 Opening Financial Position Importer

GL Import: Trial Balance


The Trial Balance will appear on the screen.
- Any errors will be displayed, along with an error message.
- You can click Edit to make changes.
- Date: Select the date to import the Trial Balance (in dd/mm/yyyy format).
- You will not be able to import to the retained reserves or sales and purchase tax accounts as these are system control accounts.
- For your retained reserves account, set up a new GL account called retained reserves opening balance account and import this figure to this GL account.
- Foy your sales and purchase tax accounts, sum their balances and import this figure to your tax liability account.
To import, click Apply.
Banks Import: Unreconciled Bank Items


Unreconciled bank items are imported to assist you in reconciling your bank account. They do not affect any balance in the system. To ensure un-reconciled transactions do not modify any existing bank balances unreconciled transactions are imported into an Importing Suspense Account.
Unreconciled items you want to import appear on the screen.
- If an error occurs with the data, an error message will appear on the screen. To view the error detail, hover over the error fields highlighted.
- To amend any data, click Edit.
To import, click Apply. If successful, you will receive confirmation.
DeleteOpen Items Import: Customer and Supplier Open Items
Customer Open Items

Customer Open items will appear on the screen.
- If an error occurs with the data, an error message will appear on the screen. To view the error detail, hover over the error fields highlighted.
- To amend any data, click Edit.
- Clear existing customer open items: Tick if you want to clear existing customer open items. If you do not tick, the importer will add to the existing open items.
- Data format: If the data provided has dates in US format instead of European format, tick this box to change to European format.
- To prevent Debtors (AR) control account modification, all opening items are posted to a Suspense Account. (The Suspense Account GL code appears on the screen.) The suspense account box is ticked by default. To change the balance to post to a Control Account, untick.
To import, click Apply. If successful, you will receive confirmation.
Supplier Open Items
Supplier Open Items will appear on the screen.
- If an error occurs with the data, an error message will appear on the screen. To view the error detail, hover over the error fields highlighted.
- To amend any data, click Edit.
- Clear existing supplier open items: Tick if you want to clear existing customer open items. If you do not tick, the importer will add to the existing open items.
- Data format: If the data provided has dates in US format instead of European format, tick this box to change to European format.
- To prevent Debtors (AR) control account modification, all opening items are posted to a Suspense Account. (The Suspense Account GL code appears on the screen.) The suspense account box is ticked by default. To change the balance to post to a Control Account, untick.
To import, click Apply. If successful, you will receive confirmation.
DeleteItems Import: Locations, Sub-Locations, Groups, Defaults, and Items

Locations
Stock locations you want to import appear on the screen.
- To amend any data, click Edit.
- Clear existing locations: Tick if you wish to clear existing locations, tick this box. Leave unticked to add to the locations already in the system.
To import, click Apply. If successful, you will receive confirmation.
Sub Locations
Stock sub-locations you want to import appear on the screen.
- To amend any data, click Edit.
- Clear existing sub-locations: Tick if you wish to clear existing sub-locations, tick this box. Leave unticked to add to the locations already in the system.
To import, click Apply. If successful, you will receive confirmation.
Item Groups
Item groups you want to import appear on the screen.
- To amend any data, click Edit.
- Clear existing groups: Tick if you wish to clear existing groups, tick this box. Leave unticked to add to the groups already in the system.
To import, click Apply. If successful, you will receive confirmation.
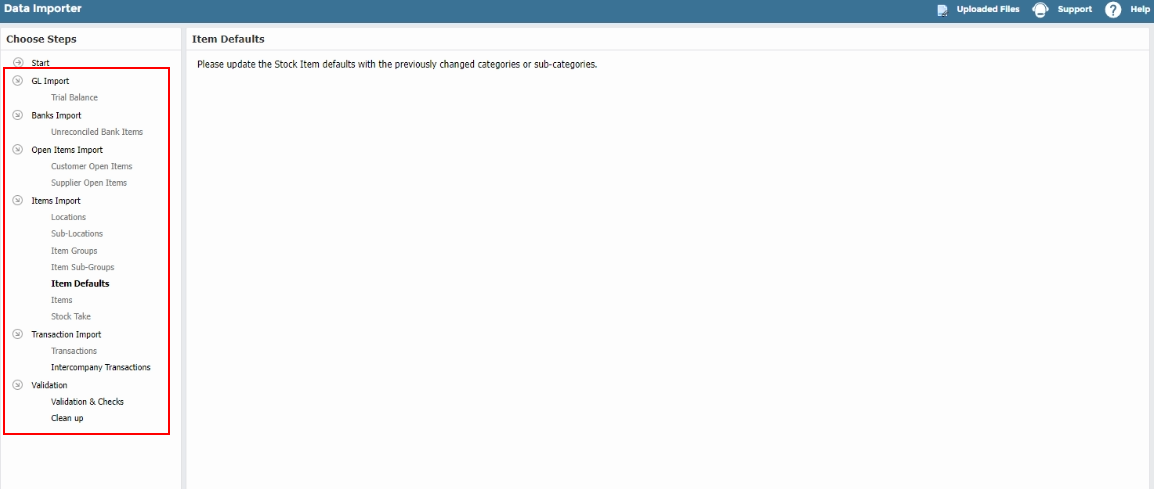
Stock Item Defaults
When a new stock item is created defaults are applied. Stock item defaults are not included in the spreadsheet for import so you must set them now, but you can amend them at any time.
- Fields flagged with an asterisk are mandatory. Populate them using the dropdowns.
To import, click Apply. If successful, you will receive confirmation.
Items
Stock items you wish to import are displayed on the screen.
- To amend any data, click Edit.
- Clear existing stock items: Tick if you wish to clear existing stock items, tick this box. Leave unticked to add to the groups already in the system.
To import, click Apply. If successful, you will receive confirmation.
Delete