
Introduction
Digitisation
Instead of manually entering Purchase Invoices or Credit Notes, Kefron uses OCR (optical character recognition) to automatically digitise documents. Most incoming Invoices are from regular Suppliers. It only takes one time for Kefron to memorise the layout of the scanned or PDF Invoices/Credit Notes from each of these Suppliers. After this, the system will recognise entries and use its OCR software to digitise the content. It then posts the results directly into the Purchasing System, using the corresponding fields and lines.
The system will still allow manual entry of Invoices from occassional Suppliers who might not be set up for automatic OCR processing.
Optional: Workflow Approval for OCR Scanned Invoices
Kefron works with all the existing features of the system including Workflow Approval. A copy of the Invoice image is automatically attached to the transaction for the Approver to access during the approval process and thereafter.
Decide whether to approve invoices from integrated products as follows:
- Go to Setup > Approval Settings.
- Tick Re-approve PO Documents from Integrated Products or Re-approve PI/PN Documents from Integrated Products if you want to reapprove documents from Kefron in the system. Otherwise, leave it unticked to bypass the system's Approval process. For more on our new WFA, see New Workflow Approval.

See:

Navigating the OCR System
- In Kefron, go to Purchases > OCR Scanning Sub-System.
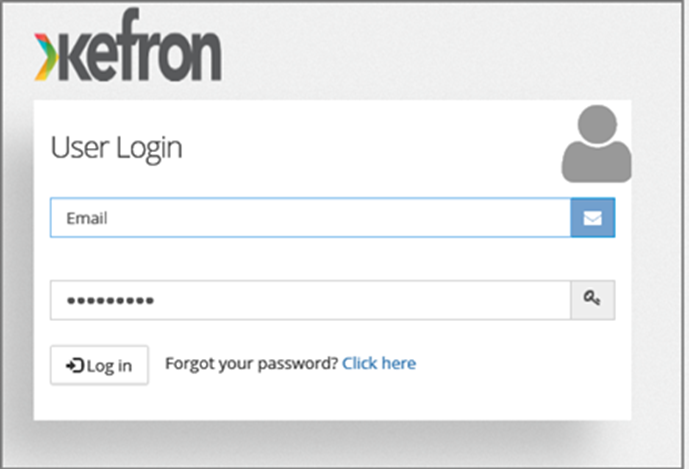
- Log into Kefron with your email address and password which you received from your system provider.
- This opens the Dashboard. Note the icons below.
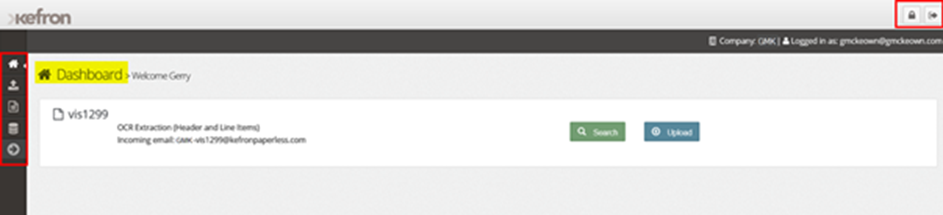
Change Password: Click to change the password associated with your User Login.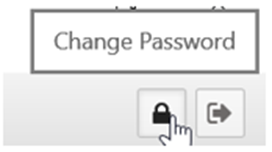
Sign Out: Click to log out of the Kefron subsystem and return to the Purchases Menu.
Dashboard: Click to return you to the Dashboard.
Documents > Upload: Click to manually upload scanned documents. Emailed documents automatically upload and so bypass this function.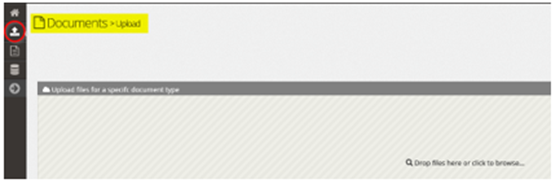
Verify: Click to view and correct any documents that failed the OCR validation rules.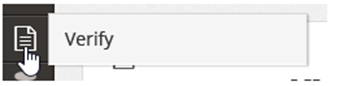
Storage: Click to view successfully processed documents.
Back arrow: Click to display or hide the icon labels. 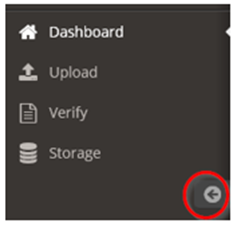
Creating Kefron templates
The template creation process
First, you must prepare a unique Supplier Invoice Template. This defines and memorises the layout of the fields on a new Invoice Image. Kefron is automatically notified when unknown documents are entered into their system and then prepares the template. Kefron uses the document layout to teach the System where the appropriate Invoice fields are so they can be used subsequently without any intervention.
For new Suppliers, create a New Supplier Record in the Accounts System. Kefron accesses the Accounts system every few hours and downloads any new Suppliers by copying the Supplier Name, Account Code, Currency, and any other details it needs into its own system. This means there is no further need to enter the Supplier details in Kefron.
Suppliers and multiple currencies
You can only use a single Currency per Supplier. If you have a Supplier which you deal with in several Currencies, then set up a different Account for each of the Currencies. For example, you might have an American Express Account (AMEX) in US Dollars, another one in Euros, and the third one in Sterling. You should therefore set up three different Accounts for AMEX: one for each Currency.
Allocate three different Supplier Codes even though the Supplier Names are the same in each case. Kefron, downloads the identity of all three and locates the correct Supplier Name from the Invoice Imagecompares the currency of the Invoice Image with that of the Currency of the Supplier in the accounts system to ensure it has the Account.
Option 1: Using Scanned Invoices to create OCR Invoices
- In Kefron, go to Purchases > OCR Scanning Sub-System.
- Log into Kefron with your email address and password which you received from your system provider.

- To upload one or more scanned Invoices/Credit Notes, either click Upload or the upload icon.

- Go to the location on your Desktop or Server where the scanned images are located. Open each one or select multiple.
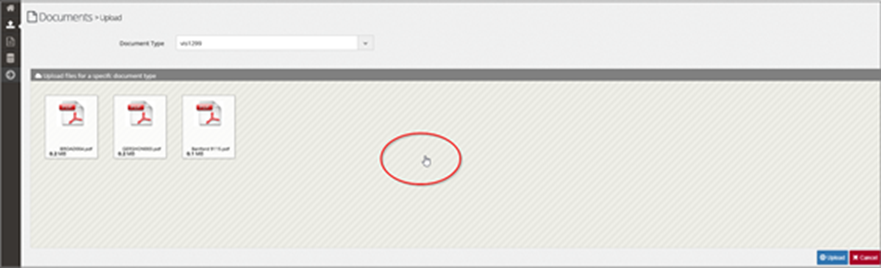
- To upload further documents from another location, click anywhere in the shaded area.
- When you have finished your selection, click Upload.
- Allow up to 24 hours for the Invoices to become available for processing.

Option 2: Using Emailed Invoices to create OCR Invoices
On signing up to use Kefron, you will receive a specific email address for incoming Invoices. You should then request all your Suppliers to forward their Invoices or Credit Notes to these email addresses in the form of PDFs.
It will be of the form GMK-vis1299@kefronpaperless.com where GMK is your unique identification and vis1299 is the company destination for the incoming Invoices. If you have more than one Kefron user and/or more than one destination company, then you will be allocated as many email addresses as required.
Managing Rejected Invoices
All Invoices (and Credit Notes), whether manually uploaded or received by email, will automatically undergo OCR processing using the Supplier Invoice Templates and strict validation.
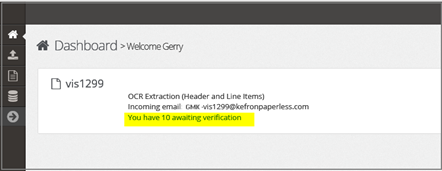
Most of your submitted documents will automatically flow to the Accounts system proper. However, some may fail the rigid validation checks and will end up Awaiting Verification. When you subsequently log in to the system you will receive an alert message on the Dashboard Screen.
Resolving Rejected Invoices
- Click the link in the alert message to view the list of documents.
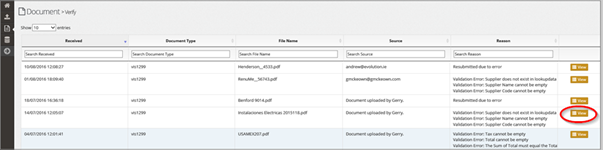
- Click View on the right-hand side to view the current state of any of the Invoices. In this example, the Supplier identification is missing, probably because they are not set up properly in AIQ.
- Locate the Supplier from the dropdown list by typing in the first couple of letters of the Supplier Name, ensuring you have the correct currency.
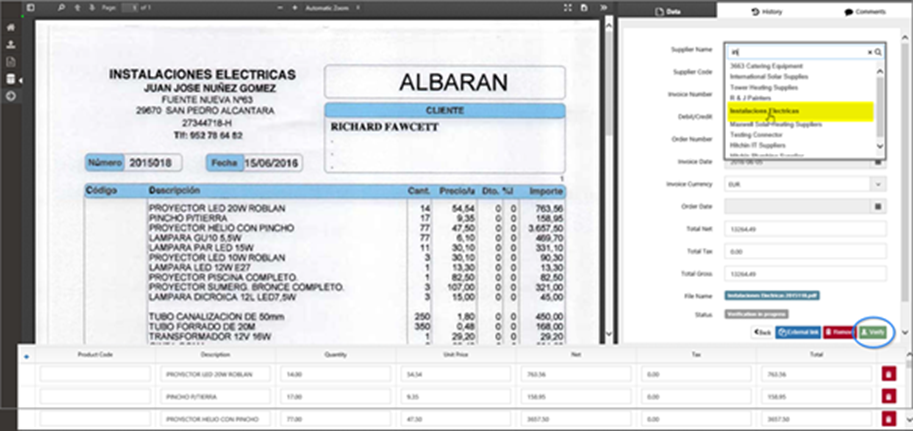
- Click Verify. The document will go through all validation process again by checking for data in the image to complete the template. Kefron checks that:
- The Supplier exists and retrieves the Code.
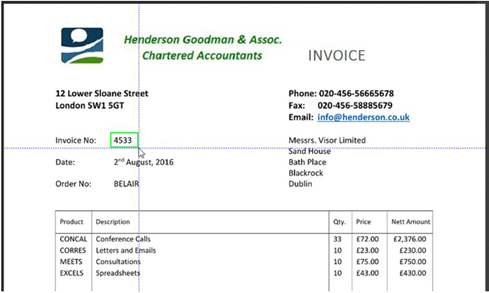
- The Invoice Number is not a duplicate.
- The word Invoice or Credit is located on the image and determines if it is a Debit (Invoice) or Credit (Credit Note).
- It is an Order No. and if so, extracts it.
- The Invoice Date is valid and translates it to the form yyyy-mm-dd. The Date cannot be greater than the end of the current month.
- The Currency is located, either in words or symbols, in both the image and the Supplier Invoice Template. After proper training by the system experts, it knows where that is. If no currency is present, then it uses the Currency of the Supplier as a default.
- There is an Order Date and if so, extracts and translates it to the form yyyy-mm-dd.
- The Total Nett Value, Total Tax, and Gross Totals add up.
- In each Line Item, the Quantity times the Unit Price must equal the Net Amount.
- For each Line Item, the Net amount plus the Tax equals the Line Total.
- The sum of the Line Item Net values equals the Total Nett value.
- The sum of the Line Item Tax values equals the Total Tax.
- The sum of the Line Item Total equals the Total Gross.
For missing values, Kefron does the following:
- If there are no Line Items, or the Line Items lack Line Item Prices, then it will create one Line Item containing the Description and the Invoice Totals.
- Where Tax is only at Invoice Total level, then it will be distributed across the Line Items.
- If other values are missing at Line Item level, the system will do its best to work them out, otherwise, the system will create a single Line with the Description, Item Price, Tax, etc. to match the Invoice Totals. There is a slight tolerance built in to overcome rounding issues.
Correcting items that failed verification
In the example below, the Invoice Date was miss-typed on the original Invoice.
- Correct dates using the dropdown, Calendar.
- Click Verify.
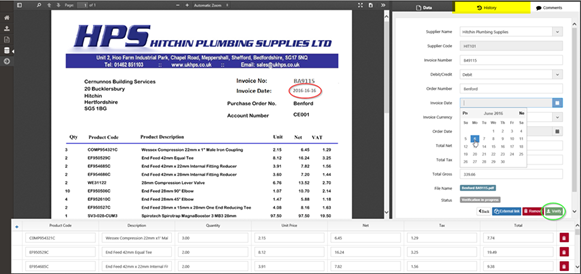
- Click the History tab to see the full list of validation failures.
- If there are missing items in the interpreted fields, correct them manually.
- Alternatively, place the cursor firmly in the field and a crosshairs type cursor will appear. Move the crosshairs to part of the Invoice Image you want to capture. With the left-hand button held down on the mouse, draw a box around the desired field.
- When you release the mouse, the value will appear in the field in the right-hand section or in the interpreted fields section at the bottom. For Line Item fields, you only need to do this once.
Other features in Kefron
Press the Esc to revert from any of these.
Zoom: At the top of this screen, use these buttons to zoom in or out of the Invoice image.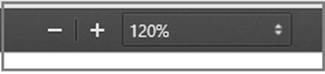
Remove: Use this to remove a document entirely from the system.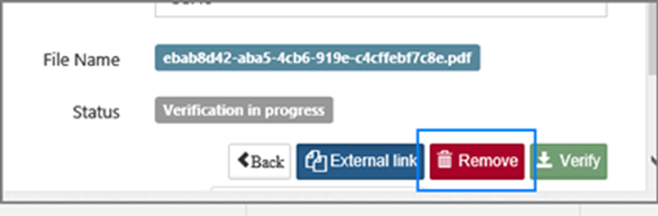
Remove Line: Use this to remove a Line from the Document being processed but not from the original document image.
Hide/Display: Use this to hide or display various tools. Note that the system does not yet handle multi-page Invoices and Credit Notes.
Download PDF: Use this to save a PDF Image of the Document.
Full screen: Use this to view the image in full-screen mode. 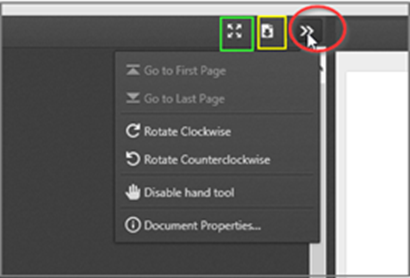
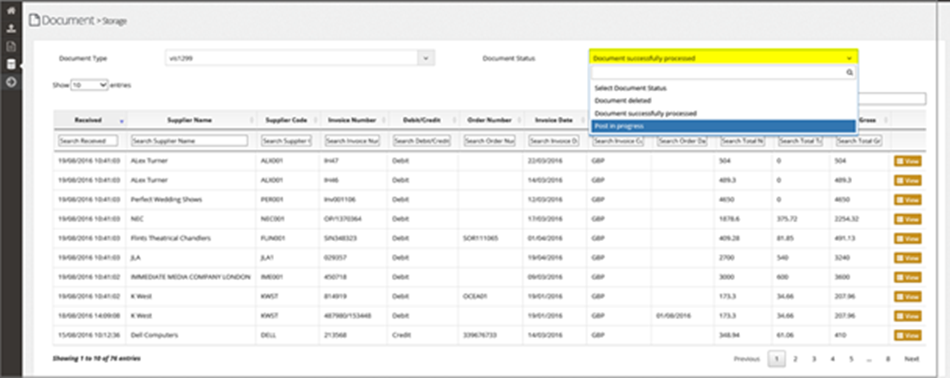
Storage: Use this to examine the Invoice Images which have successfully been processed. Click to get a full listing.
View: Click on a listing to view what Kefron has processed and forwarded to the AIQ, which is useful in case anomalies arise between the two. Using the dropdown, you can also examine deleted documents, and documents awaiting posting into the Accounts System. You can sort and search on any of the fields.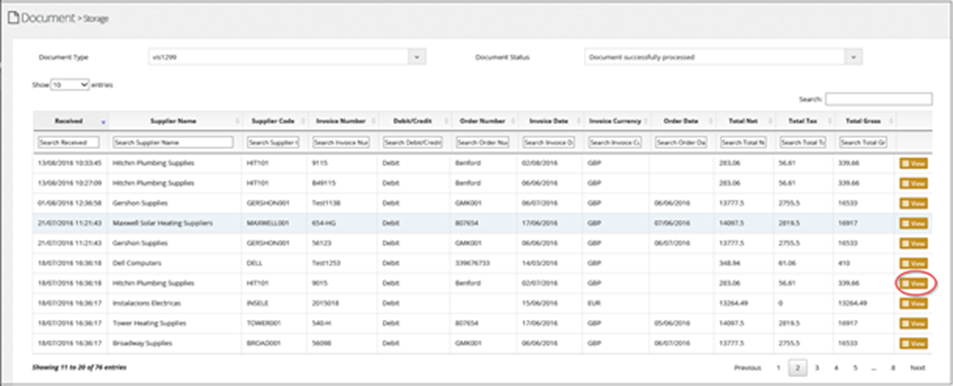
Managing OCR Invoices in the listing grid
Most of your Invoices will automatically go through the scanning process into the accounts system without intervention, whether they’re received in the email account or manually uploaded.
Viewing Item Invoices
- In Kefron, switch to the accounts system by clicking on the account tab. You can switch between the two by clicking on either tab. You may have to log in again if you have been timed out.

- In the accounts system, go to Purchases > Item Invoices.
- Click the Clear Filters icons to remove any Filters. The grid will display a list of the outstanding Invoices (and Credit Notes) which are not yet processed or posted.
- The list of outstanding Invoices will be in Date Order. If you want to look at the latest Invoices received by the system, sort the list by the Invoice Date. This is the date the Invoice entered the Purchasing system.

Checking the Invoice
The Invoices sent through to the Purchasing System from Kefron will likely have the Supplier’s own Inventory Codes detailed on them. On receipt of the OCR scanned Invoice, the system will allocate the Supplier default General Ledger Codes and BI Codes to each line of the scanned Invoice.
You can replace these Item Codes, General Ledger Codes and BI Codes before processing the Invoices further.
- In the grid, click on the Invoice No. to open the Invoice.
- Ensure the Item Codes, General Ledger Codes, and BI Codes are correct.
- Select OCR Checked. This will update their status meaning they will now enter approval is using.
- Click Save.

Adding OCR-related columns to the listing grid
There are two fields that you need to display on the Item Invoices grid.
- Click on the Add/Remove Columns icon.
- Add the following
- Created By: This will distinguish those Invoices which have been received from Kefron from those which have been manually entered. Kefron Invoices will have Fileweb as the source whereas manually entered invoices will have the name of the person who entered the data (from their login).
-
OCR Checked: This indicates whether the Invoice has had its Item Codes, General Ledger Codes, etc. reviewed and updated. If this field is set to Checked, then you can send the Invoice for Approval (or not) using the Actions dropdown on the right-hand side of the grid.

Processing OCR Invoices
Posting OCR Scanned Invoices
Once the invoice has been matched to a Purchase Order and been approved, it can be posted. If you do not use orders or approval, it can be posted immediately.
- In the Post column, select all the invoices you wish to post.
- Click Post Selected. They will now appear in the Supplier Account and will update the General Ledger.
Do not use standard PO PI matching
Follow the above procedure for both PO and Non PO Invoices. When the OCR Invoice is posted, it will update the inventory and cost data as if the Invoice were a Non PO Invoice. Do not use the regular PI PO matching as this create a second Invoice that will further update inventory. Instead, under Actions, select Cancel Order.


