
Introduction
About the Expenses App
The Mobile Expenses App lets employees capture and submit claims for work expenses on their mobile device attaching receipts where needed. A valid subscription is needed to use the expenses app. If you have not yet subscribed to the app and would like to find out more, contact support@accountsiq.com.
Using Workflow Approval with the Expenses App
Follow this order to set up the Expenses and Workflow modules:
- Set up approvers: See New Workflow Approval
- Create employee records and send invites: See Setting up Employee Expenses. The employee can then download the app to their device and link it to their employee account.
- Set up workflows for employee expenses using the “Non PO Invoice” mode and “Employee” condition: See New Workflow Approval.
See:
 Invite employees to mobile app (21.6) - AIQ Academy
Creating Expense Claims (21.7) - AIQ Academy
Managing Expense claims (21.8) - AIQ Academy


Set up the Mobile App
Step One: Download the App to Your Mobile Device
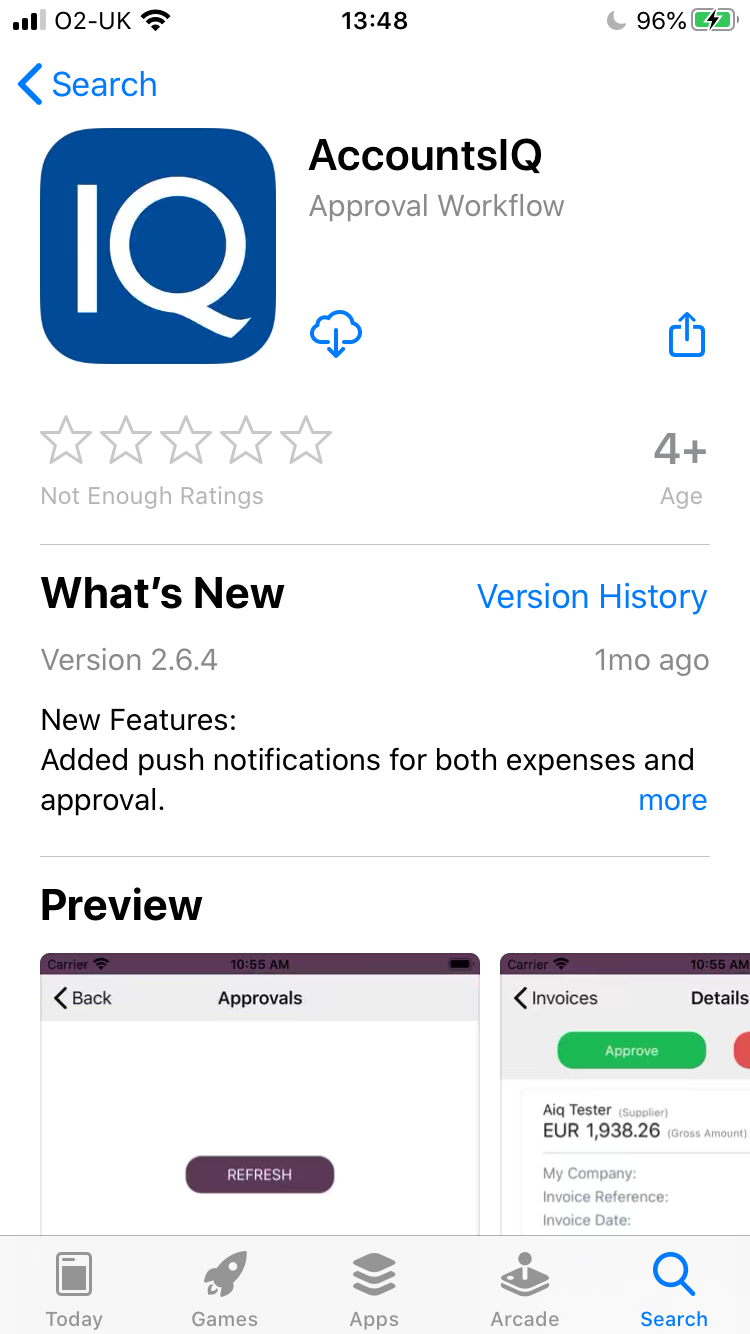
- Open your invitation email on the mobile device you would like to install the app on and click on the Get Started link. This will take you to your app store and prompt you to download the App.
- Follow the instructions to download the app.
Step Two: Link the App to Your Employee Account
- Click the Get Started link from your invitation email on your mobile device.
- Install the app.
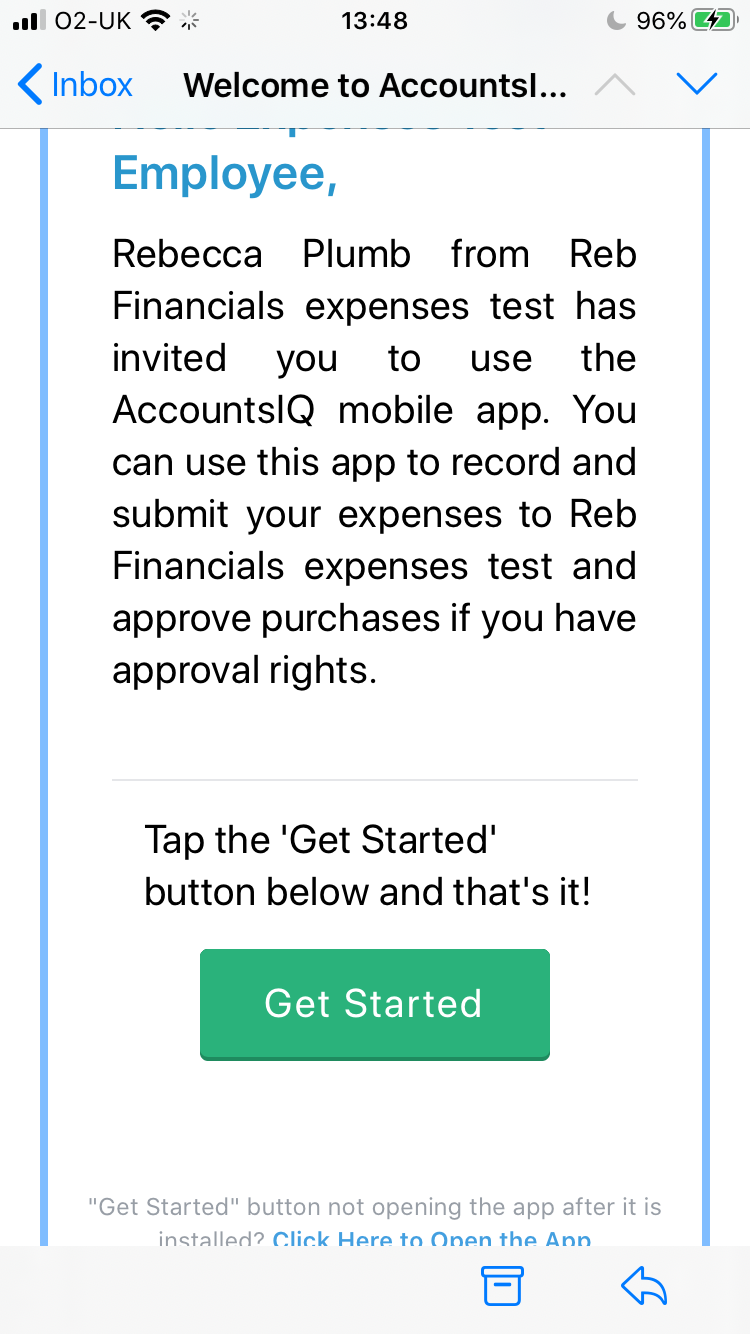
- When you have installed the app, go back to the invitation email and click the Get Started link one more time. This time, this will link the app to your expense account meaning that you do not need to create a separate username and password for the app.
- During installation, the app will request to send you notifications - if you allow this, the app will send you notifications when claims have been approved or rejected. When you first start using the app, it will also request access to your camera (this will allow you to take photos of receipts from the app, and to access your photos (this will allow you to attach saved photos to your expenses.
When you have successfully linked the app to your expense account you will see the following screen and you are now ready to start recording expenses.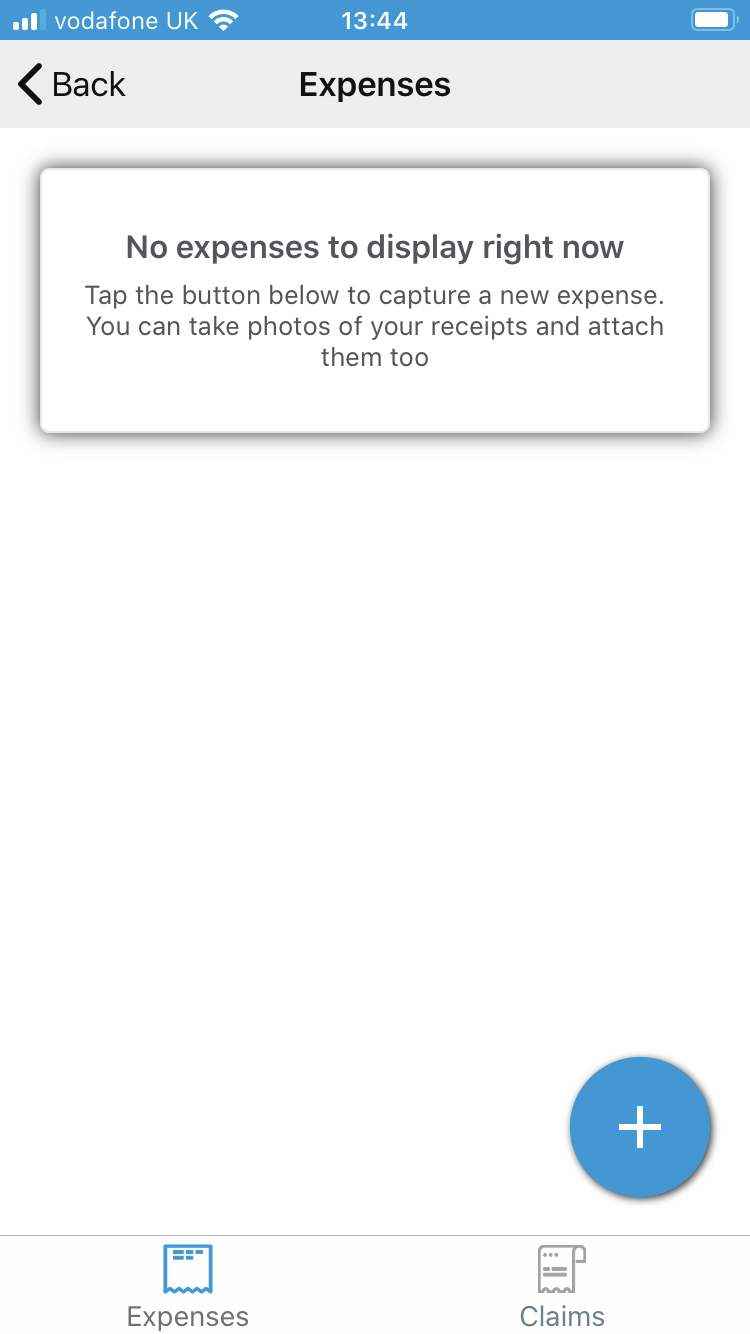
Create Expense Claims
Add a new expense for each item you want to reclaim from your employer, such as train fares, hotel stays, or mileage expenses.
Step One: Capture the Expense
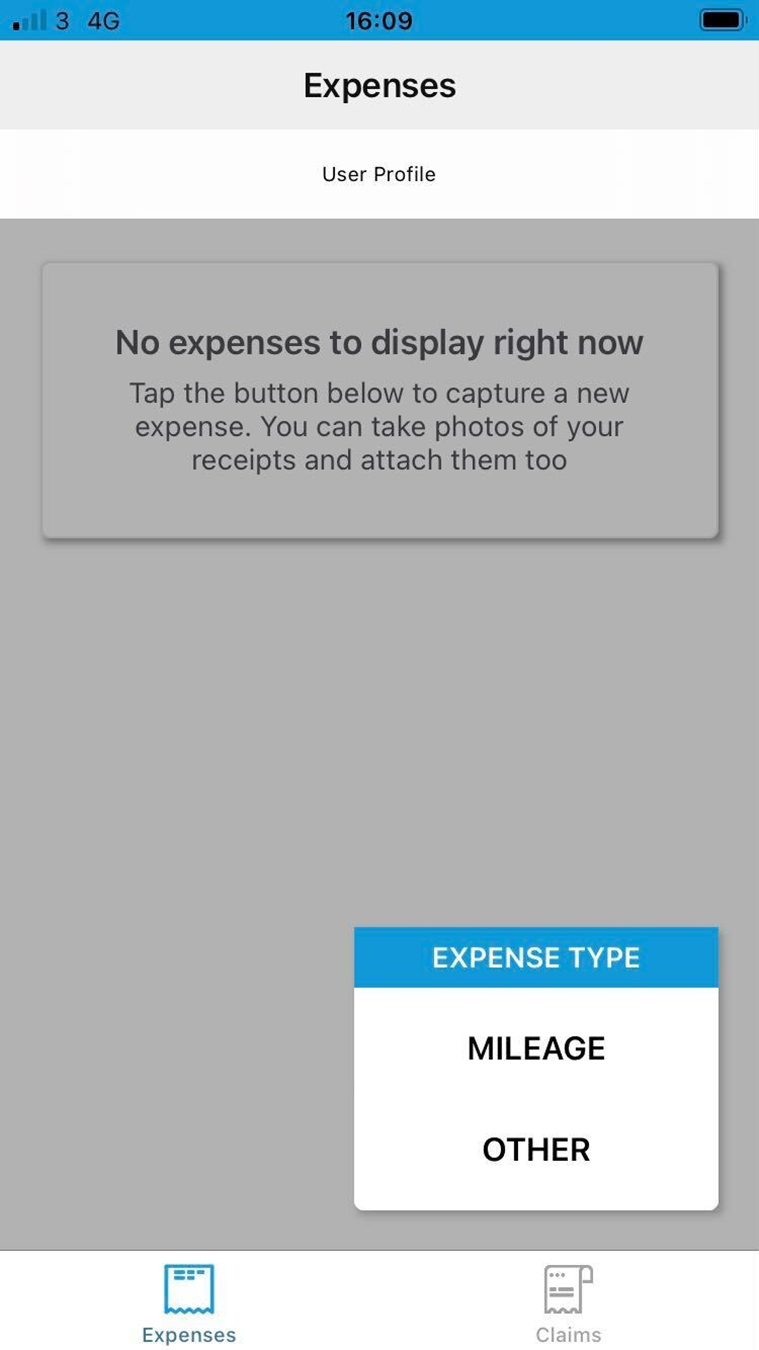
- Go to Expenses and click the + icon.
- From the dropdown, select Mileage or Other. If the Mileage module is not set up in the system, clicking the + icon will take you directly to non-mileage expenses. (If you are interested in the Mileage Expenses module, please contact support@accountsiq.com to get started.)
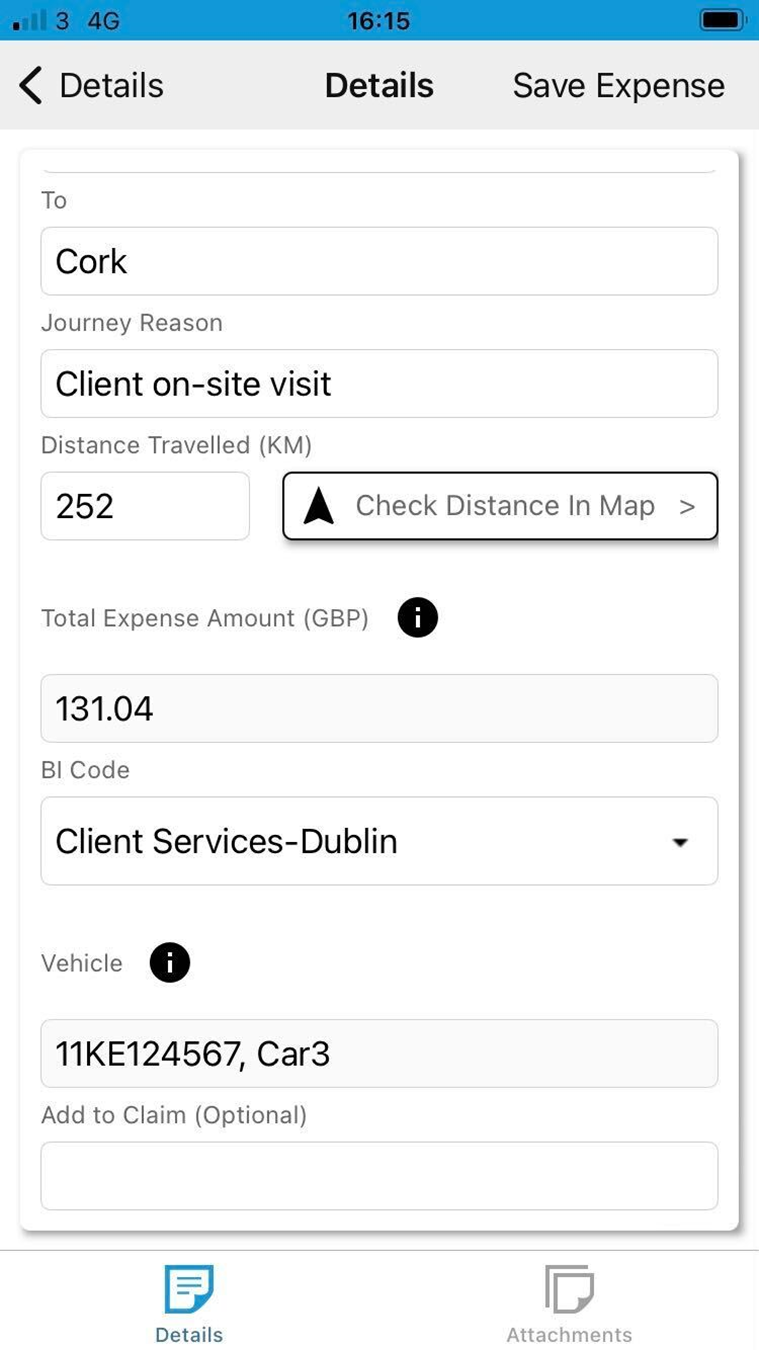
To capture Mileage Expenses, record the following details:
- Incurred On (Mandatory): Select the date that the mileage expense was incurred on.
- From (Mandatory): Record the journey starting point, maximum 500 characters.
- To (Mandatory): Record the journey end point, maximum 500 characters.
- Journey Reason (Mandatory): Record the reason for the journey, maximum 500 characters.
- Distance Travelled (Mandatory): Enter the number of kilometres or miles travelled, maximum 18 characters.
- BI Code: If any Dimension Elements were set as default in your Employee Expenses record, you will be able to select from the associated BI Codes only. If your record does not contain any defaults, you can select from all codes.
-
Add to Claim (Optional): Select an existing claim to add this mileage expense to.
The following are informational only:
- Check Distance in Map: Use this to check the distance of your journey, then manually return to the app.
- Vehicle (Read-only): This shows the license plate, engine size, and vehicle type. It is the responsibility of the employee to advise the finance team of any changes. Tap the information icon to find out more.
- Total Expense Amount (Read-only): This shows the calculated expense amount in base currency. Tap the information icon to find out more. If the expense is in a non-approved state, the following note will appear: "Please note that this expense has not yet been approved, so the listed amounts represent estimated values."
To capture Other Expenses, record the following details:
- Incurred Date: The date the expense was incurred on.
- Category: Select from the list of common expense types.
- Gross Value: Enter the total expense amount.
- Description: Enter a description of the expense.
- BI Code: Enter a cost centre or project code for the expense.
- Add to Claim: This is an optional step to add this expense to an open claim.
To Complete the Expense Capture:
- Open the Attachments tab (if required) to add new or remove attachments. Note that attachments must be under 10 MB:
- Take Photo: Take a new photo and attach it to the expense.
- Phone Gallery: Go to your phone gallery and select an existing photo to attach to the expense.
- Choose File: Choose a file saved on your phone and attach it to the expense.
- Click Save Expense to finish.
If an expense is captured but not yet associated with a claim, the Delete Expense button will be available.
Step Two: Create an Expense Claim
To help you manage your expenses, you can create multiple open claims, divided, for example, by month, client, or job. Then, as expenses come, add them to the relevant open claim.
- Go to Claims.
- Click + to create a new claim or add to an existing claim.
- Enter the details for the claim:
- Claim date: This will default to today's date. This is the date that your claim will be given when it is submitted to your organisation's Finance team for reimbursement. You should ensure that you provide the correct date for the expenses you are submitting.
- Reference: Assign a unique reference. Using a recognisable reference will help you keep track of your claim history. You can change this as required.
- Click Save. The claim total automatically updates each time an expense is added to show the total value of the claim.
To edit open claims:
- Edit Details: Click Edit to edit the claim reference and date if needed.
- Add an Expense: Open an expense from the expense listing, select a claim from the Add to Claim dropdown, and save it.
- Remove an Expense: The Remove From Claim button appears if the expense already belongs to a claim.
Step Three: Submit your claim for approval
When you have added all the expenses you need to a claim, click Submit Claim.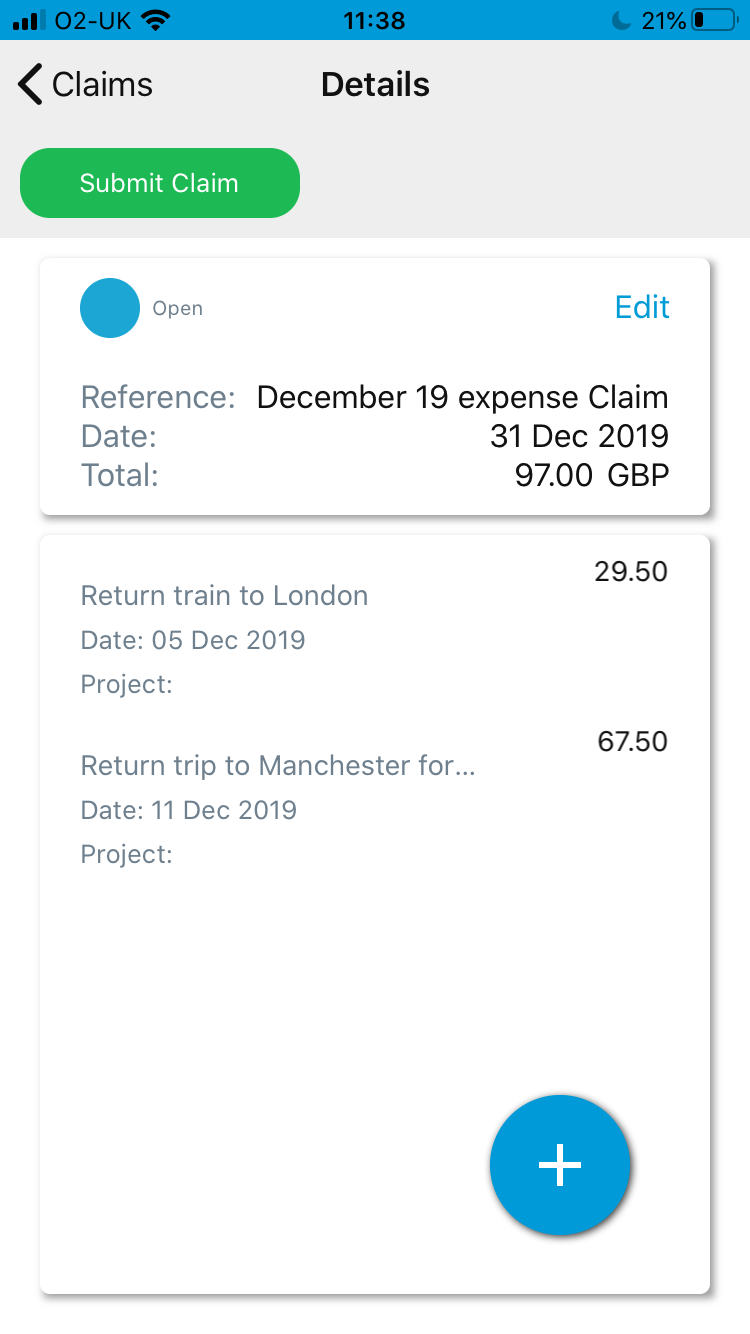
This will send a notification to your nominated approver, that you have submitted a claim for approval. They will be able to see full details of the claim and expenses (including attachments).
Expense Claim Statuses
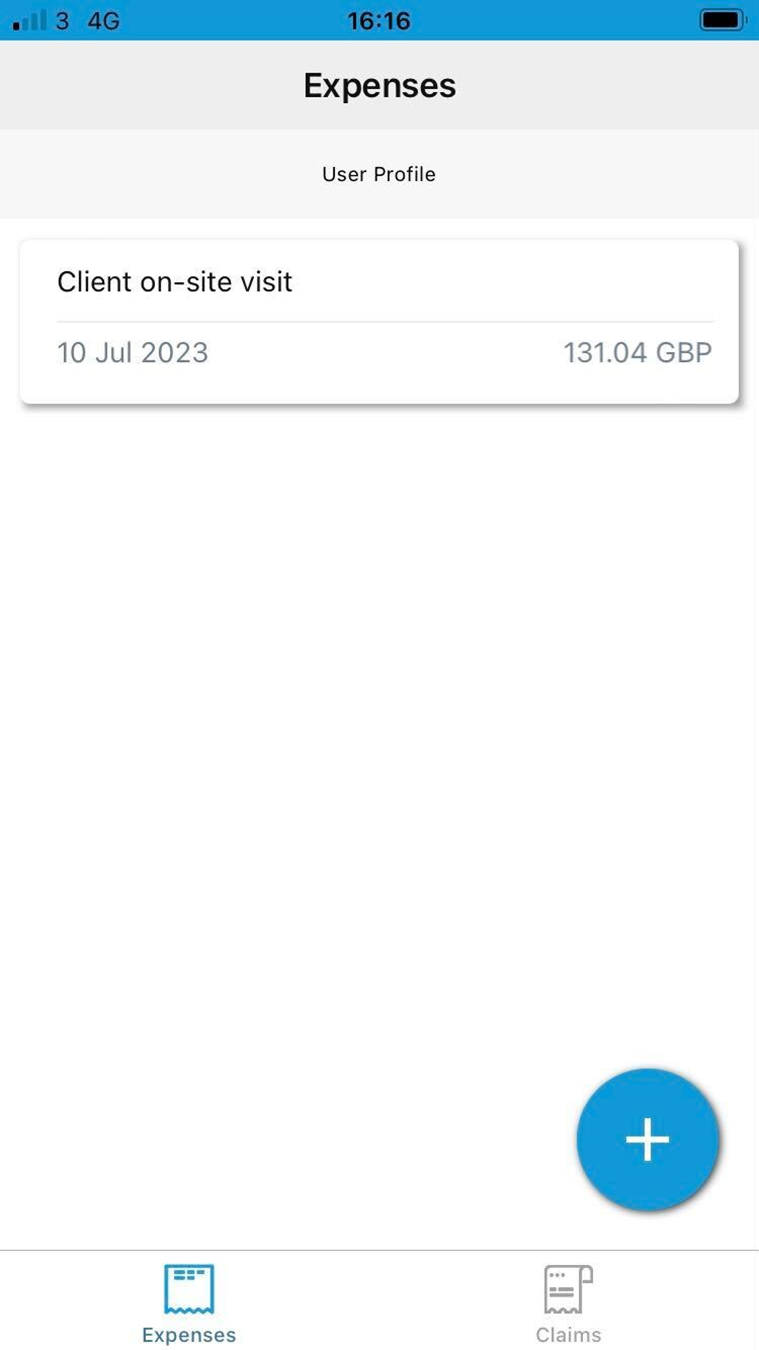
Your full claim history will be stored on the app.
The status of each claim is shown on the right-hand side.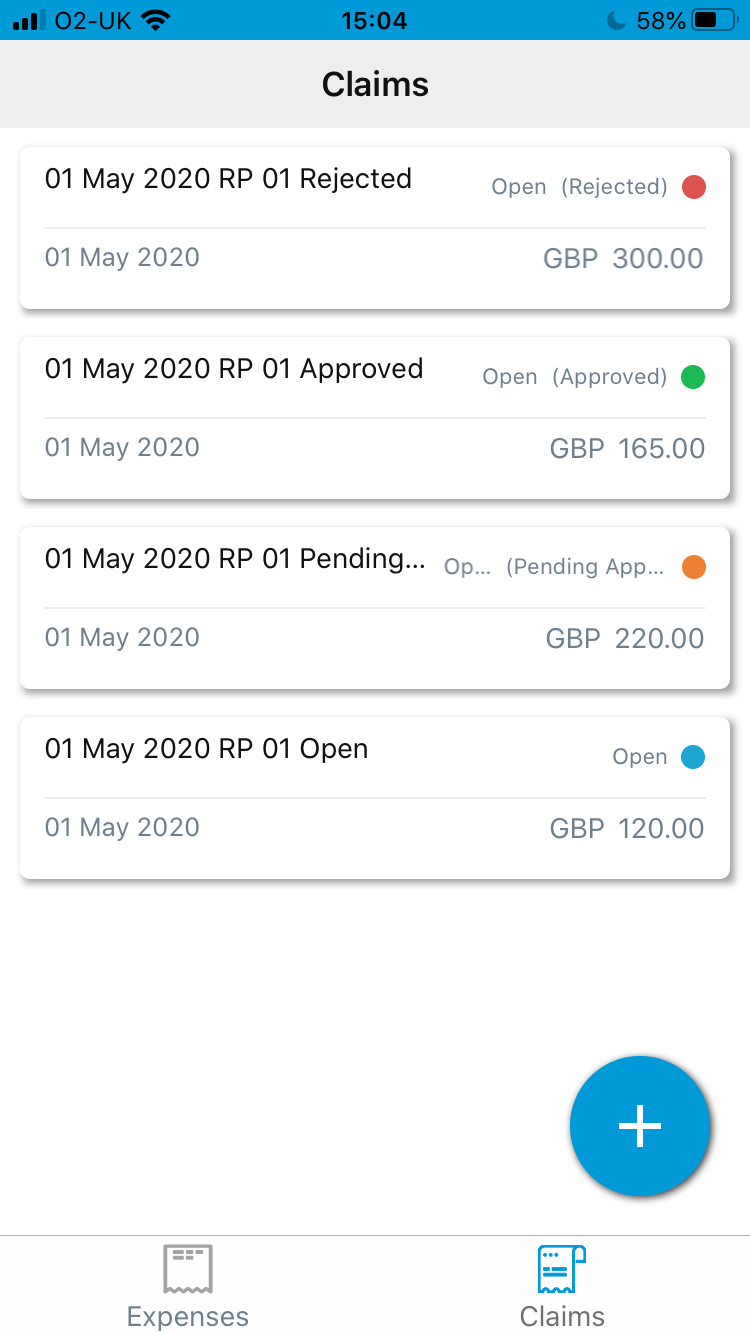
Open Claims
- Claim has not yet been submitted for approval.
- All claim details can be edited, and expenses and attachments can be added and removed.
- Your approver will not see any details until you submit the claim.
Pending Approval
- Claim has been submitted for approval.
- All claim details can be edited, and expenses and attachments can be added and removed.
- Your approver will not see any updates until you re-submit claim.
- When you start editing a Pending Claim, the status will change to Open (Pending Approval), once re-submitted for approval it will change back to Pending Approval.
Approved Claims
- The claim has been approved and will be sent for payment.
- You will receive a notification when a claim has been approved.
- No further changes should be made unless instructed by your approver or finance office.
- If you do make any changes to an approved claim, the status will change to Open (Approved).
- Your approver will not see any updates until you re-submit the claim.
- The status will change once you have re-submitted the claim for approval to Pending Approval or Approved (if the changes you make do not affect the value of the claim).
Rejected Claims
- The claim has been rejected by your approver. There will be a note attached that should give you an explanation for the rejection and details of what needs to be changed.
- You will receive a notification when a claim has been rejected.
- All details can be edited, and expenses and attachments can be added and removed.
- You will not be able to re-submit for approval until you have amended the claim.
- Your approver will not see any updates until you re-submit claim.
- The app will not show any payment history for claims or send any notifications of payment. If you have any questions on the payment status of a claim, please contact your approver or finance office.
FAQs
What mobile settings do I need to allow?
When you first install the app, you will be prompted to allow:
- Push notifications
- Access to the camera
- Access to your photos
If you want to change any of these settings later, these can be updated in your phone settings.
How do I check which version of the app I have installed?
On iPhone with iOS > 13, click on Settings > General > iPhone Storage, find the app on the list, and click on it to see the version.
On Android Go to Settings > Application Settings > Manage Application, select the app, and the version will be shown under the name of the app.
Do I need to download updates?
We are constantly releasing new updates and bug fixes, so we strongly recommend that you enable automatic updates. This means that you will always have the latest version of the app installed.
To enable automatic updates:
- On iPhones with iOS > 13: App automatic updates are enabled by default, but this is a setting you can turn off. If you did not manually switch automatic updates off, you should have the latest version. To find out more about automatic updates please see: https://support.apple.com/en-gb/HT202180
- On Android: https://support.google.com/googleplay/answer/113412?hl=en
How do I uninstall the app from my Android phone?
If you need to uninstall the app from an Android phone, you also need to remove the data files stored on the phone.
The attached video shows how to find and delete the files:
https://screencast-o-matic.com/u/QZG2/delete_app_from_android
I already use the app for approval, how do I set it up for expenses?
If you already have the app installed and use it for approvals when your admin user sends you an expenses invitation, the expenses module will automatically be added to your app - all you need to do is re-start the app. You don't need to click on the link in the email or re-install the app.
When you have restarted the app, you will see the following screen allowing you to access both expenses and approvals:
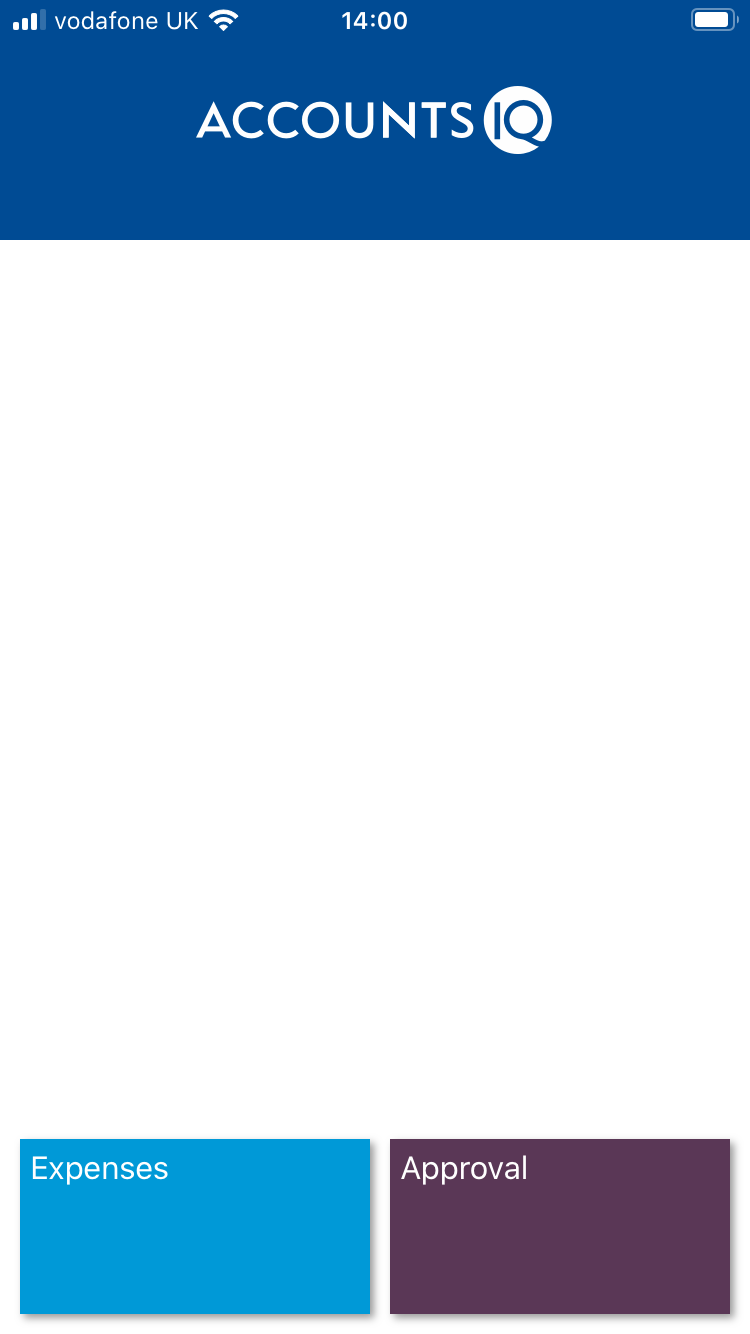
How do I account for VAT on my claims?
All claims should be submitted for the gross value (the total value spent, including VAT). Your finance office will then make any adjustments to reclaim VAT on your behalf.
How do I submit foreign currency claims?
The app only supports single-currency expense claims. If you need to submit a foreign currency claim, ask your approver, or finance office for advice on how this should be dealt with.
Troubleshooting
I haven't received an invitation email.
If you have not received an invitation email, first check your junk/spam folders. If it is not there, ask your local admin user to resend the invite. If you still have not received your invitation, please ask your admin user to contact support@accountsiq.com for further help.
I can't access my work email from my phone.
To link the app to your finance system you must be able to access the email account the invitation was sent to from the device that you want to connect to the app.
Error syncing data (submitting a claim)
Try restarting your mobile device. If this doesn't work, this usually indicates a problem with an attachment to one of the expenses:
- Check all the attachments are still on your phone.
- Try splitting the expenses into different claims.
If neither of those steps helps, check the attachment types that you are including and send details to support@accountsiq.com.
Error syncing data (setting up an account)
If you have received more than one invitation email, make sure that you are clicking on the link contained in the latest invitation email.
Ask your system administrator to send a new invite and delete and reinstall the app using the new email link.