
Introduction
The AccountsIQ Mobile Purchases Approval App is a handy productivity tool that's designed to automate purchase approval workflow processes within your company. The app is seamlessly integrated with the AccountsIQ Finance system and can deliver real efficiency gains to your business.
See:
 Employee Expense Overview (21.0) - AIQ Academy
 Employee Expense Pre-requisites (21.1) - AIQ Academy
 Setting up Employee Expenses
 Using the mobile Employee Expenses App
Using the Expenses App
Prerequisites
To use the app, your company must:
- Have a valid AccountsIQ subscription.
- Use non-budget approval workflow. Currently, you cannot use budget approval workflow with expense claims.
- Request the mobile app to be switched on in your entity.
Ask your local Support Team for more details.
Inviting Users
Your company's administrator of AccountsIQ (typically someone in your Finance Team), can invite employees to use the app by email. Employees in receipt of these invitation emails can then follow the instructions in the emails to download and access the app by means of a secure link. There are separate versions of the app to support Android (Android OS) and Apple iPhone (iOS) devices, depending on what phone employees access the invite email from. Access to the app is only conferred using this method.
Depending on their access level, users can either:
- Review purchase orders/invoices for approval.
- Record their expenses and submit claims.
Accessing the App for the first time
Once you've installed the app on your device, tap Getting Started in the email invitation to log directly into the app. Getting Started provides a link that grants you direct access to the app, which is then stored on your device. This means that you do not need a separate username and password to access it.
If you try and open the app on your phone before clicking Getting Started, you will receive a message indicating that you need to open the email first.
Depending on your level of access you can have two options when initially loading the app:
- Approval: Reviewing and approving/rejecting Purchase Orders and/or Purchase Invoices in line with your organisation's approval workflow processes.
-
Expenses: Managing your own (company reimbursable) expenses; recording expense receipts, creating, and submitting expense claims and viewing your history of previous expense claims.
Reviewing and Approving Orders, Invoices, and Credit Notes
The Approval module main menu lets you view Purchase Orders, Invoices or Credit Notes that are now due for approval. The numbers in each of the tiles represent the number of unapproved Orders, Invoices & Credit Notes now awaiting your attention.
In addition, via the History button, you can access a full list of documents gone through workflow approval and view their, associated attachments and notes.
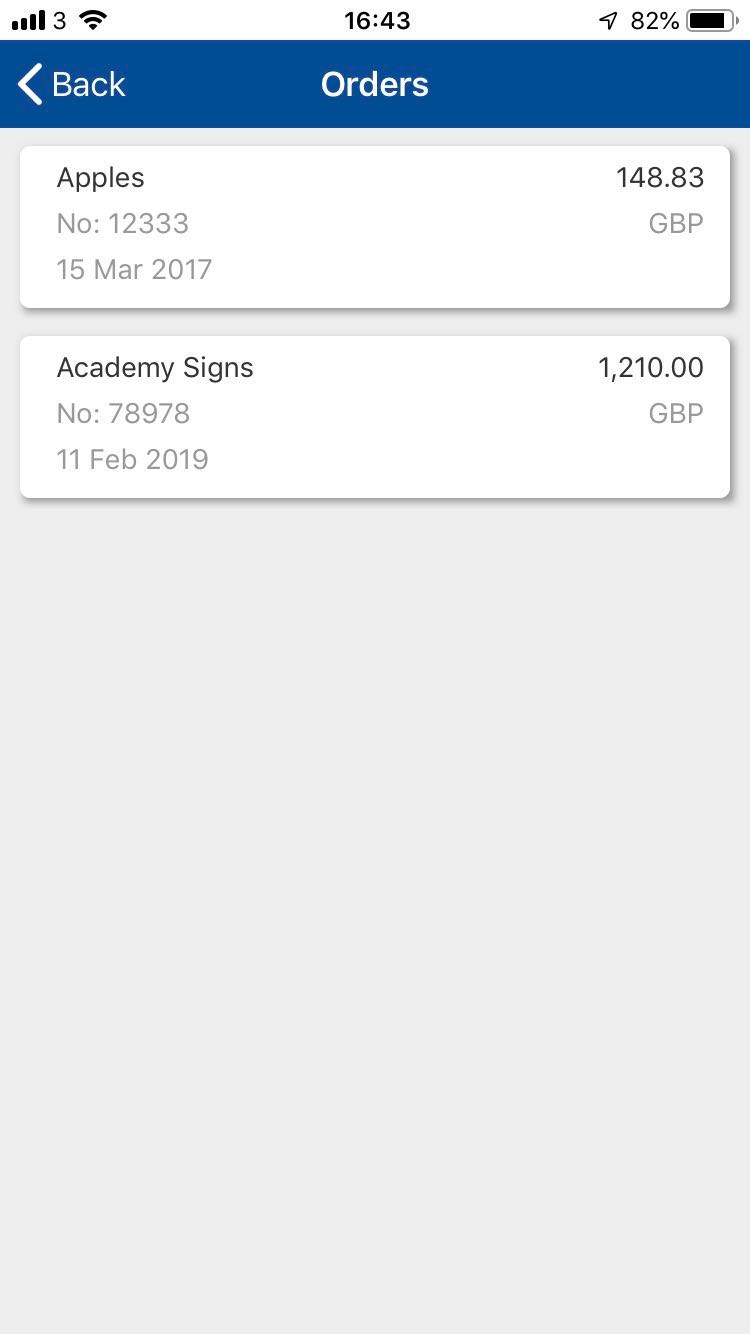
When you tap the Orders, Invoices, and Credit Notes tiles, you can view a listing of the related documents now awaiting your review ordered by date.
Details
Tap Details to view a summary of the Purchase Order. This includes the:
- Date.
- Reference.
- Overall value.
- GL coding of the Purchase Order.
- Any BI Code (Department/Project Codes) that it has been coded against.
Documents
Tap Documents at the bottom of the screen to view the underlying documents attached to the approval request. These could be a rendered copy of the Purchase Order generated by the system or other attachments that were uploaded by the person who created the Order.
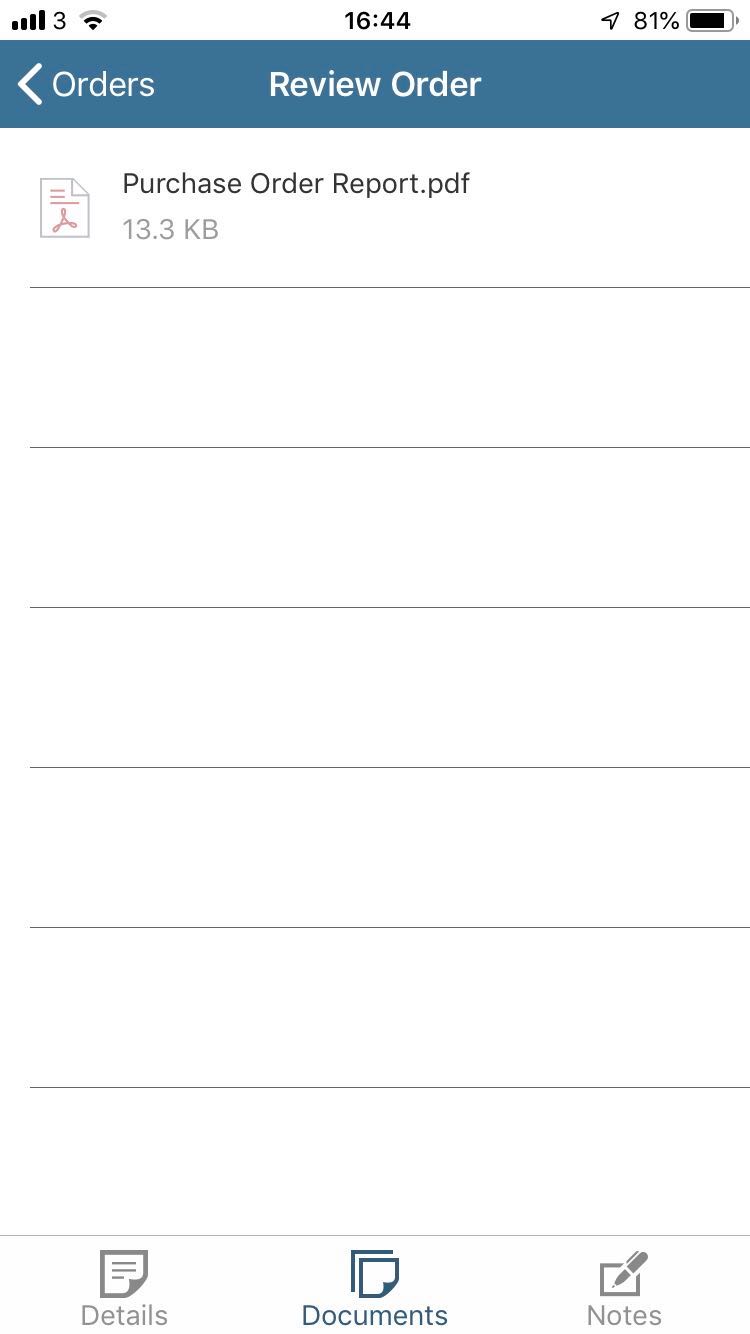
Tap on an attachment to view it:
.jpg)
Notes
Tap Notes at the bottom of the Purchase Order details to view any notes that have been recorded against it during its passage through approval workflow. These notes could contain remarks made by users when recording the purchase order or remarks made by those approving or rejecting the order. It will also show system generated notes made when the Order changes status during the approval workflow.
.jpg)
Delete
Approving or Rejecting Orders, Invoices, and Credit Notes
After reviewing the Order/Invoice/Credit Note, simply tap Approve or Reject at the top:
.jpg)
Approve
If you decide to approve the document, you can also add an additional note but this is not mandatory, before tapping Submit:
.jpg)
Reject
If you decide to reject the document, then you will be required to enter an accompanying note explaining the decision and what course of action should follow next, before tapping Submit:
.jpg)
If you are rejecting an employee expense claim, for example, these notes will be visible on the employee's expense app.